TLDR;
This video demonstrates how to build a native Swift iOS application without writing any code, using AI tools like Cursor and Xcode. It covers setting up Cursor and Xcode, connecting to the Light API for live hotel data, and building the application step-by-step.
- Setting up Cursor and Xcode for native iOS development.
- Connecting to the Light API for live hotel data.
- Building a hotel booking application with key features like city search, date selection, and hotel details.
Introduction [0:00]
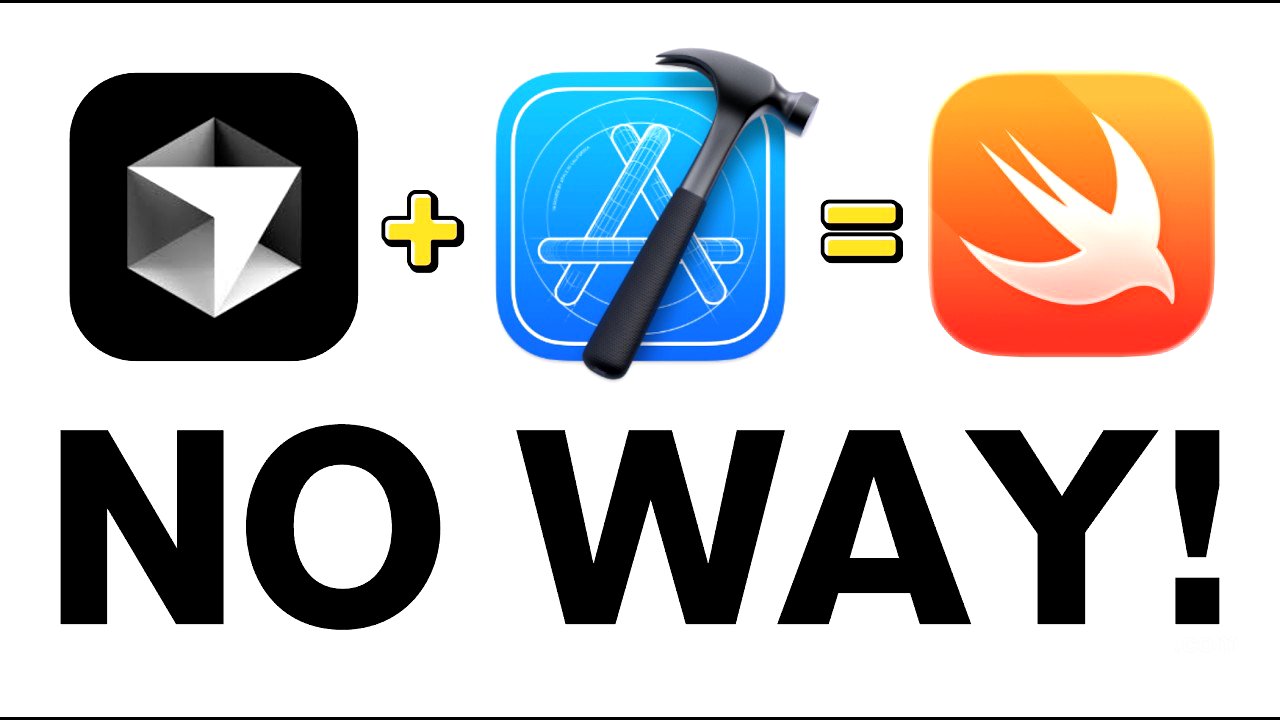
The creator shares his experience of building a native Swift iOS application using AI, specifically Cursor, without writing any code. He built a hotel booking application connected to the Light API, which provides live data. The video aims to guide viewers through the process of setting up Cursor and Xcode, connecting an API, and building their own projects.
Setting Up Xcode and Cursor [2:25]
The initial steps involve setting up Xcode and Cursor. First, Xcode is opened, and a new project is created, named "Zello v1 native." After the project template is set up in Xcode, the same folder is opened in Cursor, which will be used as the no-code editor. The video shows how to configure the project in Xcode to be iOS-only by removing support for landscape mode, Apple Vision, Mac, and iPad.
Configuring Cursor with Rules and Documentation [3:32]
To ensure Cursor performs optimally, it needs to be provided with specific rules and documentation for iOS native development. The creator adds three key resources: the Swift open language documentation from Apple, UI design dos and don'ts, and Swift UI documentation. These are added as new docs in Cursor to guide its coding process. Additionally, a user rule is set stating, "you are a native swift developer using the light API SDK to connect a hotel booking app," emphasizing the importance of consulting the Light API SDK for correct endpoints and API connections.
Prompting and Initial Setup with Light API [5:51]
A detailed prompt is created to instruct Cursor on the project requirements. The prompt specifies the use of Swift for a native iOS hotel booking website, the use of Cursor as the no-code AI tool, and Xcode for testing. The Light API documentation and API keys are mentioned for using live data. The creator confirms Cursor's understanding before proceeding. The Light API Swift SDK is provided to Cursor to ensure it has the necessary resources. The initial steps include setting up API key security using info.p list in Xcode and implementing the service using the Light API documentation.
Adding the Light API SDK in Xcode [8:01]
The Light API SDK is added to the Xcode project by navigating to File > Packages > Add Package Dependencies and pasting the SDK URL. The target is selected to ensure the SDK is properly integrated. This provides Xcode with the necessary API connections and screens. The creator emphasizes the importance of this step for building a real product.
Cloning the Repository in Cursor and API Key Setup [9:27]
The Light API Swift SDK repository is cloned directly inside the Cursor project, granting Cursor access to the SDK. Before coding, the API keys are set up to ensure the connection to the API works correctly. The creator sets up Git for version control, creating a new private repository named "Zello native v1" on GitHub. The Git setup commands are run in Cursor to initialize the repository. Security measures, such as the .git ignore file, are configured to protect API keys and secrets. The API keys are added in Xcode under info.p list.
Testing the API Connection [12:32]
After adding the API keys, the app is run in Xcode to test the API connection. The simulator is launched, and a success message, "Light API SDK configured successfully," is displayed in the console, confirming the API is working correctly.
Building a Test API Connection Button [12:52]
The first coding task involves creating a simple view with a button to test the API connection. The creator emphasizes the importance of taking baby steps and setting up the project correctly. Cursor generates the code for the test view, and when the button is clicked in the simulator, it connects to the Light API and retrieves data from US cities, confirming the API connection is successful.
Building the Homepage UI [14:23]
The next step is to build the homepage UI, including a search field for cities, check-in and checkout dates, and the number of rooms and adults. The creator provides an image for design reference and emphasizes the use of Swift UI and SDK endpoints. The generated UI includes fields for city name, check-in date, checkout date, and the number of rooms. The search functionality is tested with San Diego as the city and specific dates, and the results match those on the Zello website.
Pulling in Hotel Images and Building the Details Page [16:14]
The creator instructs Cursor to pull in hotel images from the SDK to display on the search results page. After the images are successfully loaded, the focus shifts to creating the hotel details page. When a hotel is clicked from the results page, the details page pulls in all the relevant information from the Light API SDK, including images, facilities, and other details.
Adding Bottom Navigation and Final Thoughts [17:45]
The final step in this video involves adding a bottom navigation bar with four icons: search, trips, explore, and profile. The creator emphasizes the importance of following Apple's documentation for launching native apps. He also promotes Light API as a platform for setting up a white-label booking site. The video concludes by summarizing the process of setting up Xcode and Cursor, connecting APIs, and building a Swift native iOS application without coding knowledge.