TLDR;
This video provides a comprehensive guide on creating viral YouTube videos using AI, focusing on animal-related content, particularly cats. It covers idea generation, prompt creation for AI image generation, animation, and video editing techniques. The guide also includes tips on optimizing video settings, adding sound effects, and scheduling uploads for maximum visibility and monetization.
- Identifies the popularity of animal videos on YouTube.
- Explains how to generate video ideas and create AI-generated content.
- Provides step-by-step instructions for video editing and optimization.
Intro: Viral Cat Videos on YouTube [0:00]
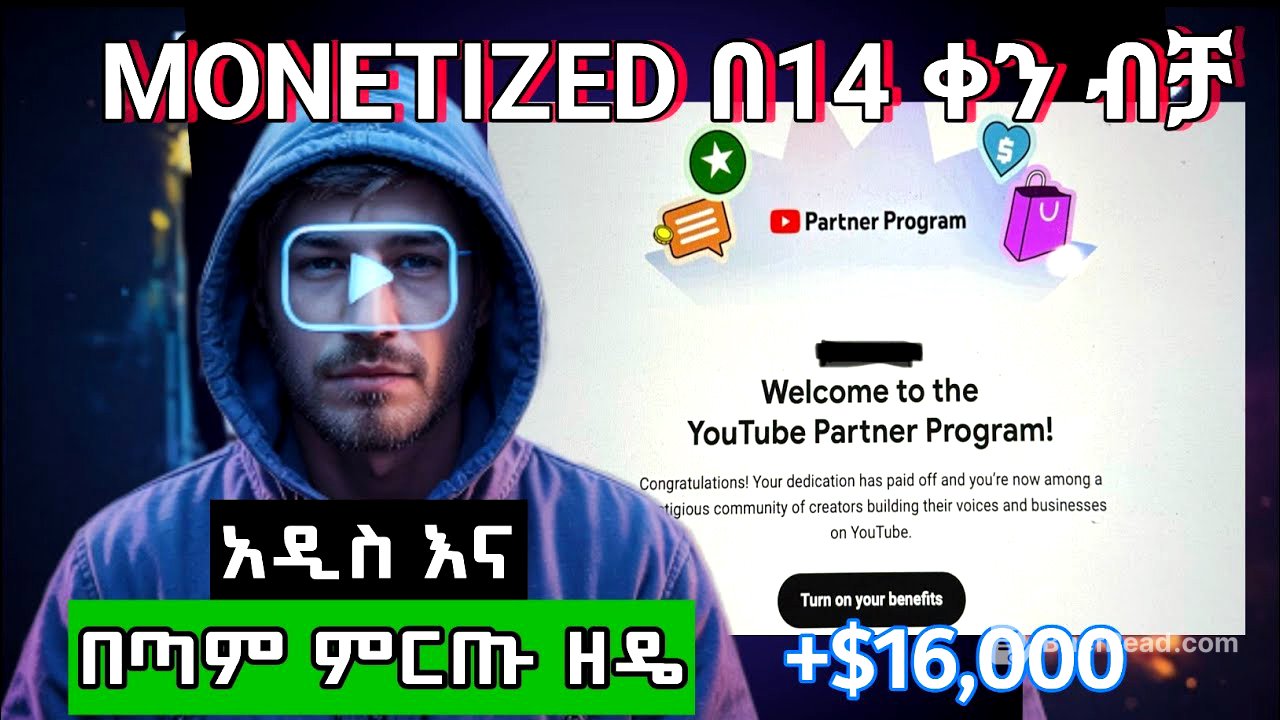
The video highlights the popularity of cat-related videos on YouTube, noting that many channels are generating millions of views and significant income through automation. The speaker references a previous full course on YouTube automation, mentioning a health niche that didn't perform as well as animal-related content. The speaker shares personal success with animal videos, achieving 14,000 views in a week with just three videos, and encourages viewers interested in finance and money-related content to subscribe.
Step 1: Idea Generation [1:57]
The initial step involves idea generation, which can be achieved by exploring various YouTube channels. The speaker advises viewers to subscribe to multiple channels that focus on cat-related content to observe their strategies, video styles, and trending topics. It's important to identify recurring themes and adapt them to create unique content, avoiding direct copying. The speaker suggests researching trending videos, especially those related to emotional or sensational topics like body building or touching stories, and tailoring them to cat-related themes.
Step 2: Prompt Generation for AI [3:06]
After idea generation, the next step is creating prompts for AI image generation. The speaker recommends using tools like Chat GPT to generate these prompts by dividing the video into scenes. For the initial stage, focus on generating images before creating full videos to ensure the desired outcome. The speaker provides an example of creating a story about a thin, frail cat, generating prompts for each scene, such as the cat walking on the street or being mocked by other cats. The speaker emphasizes the importance of consistency in prompts, repeating key descriptors like "orange" and "little" across all scenes to maintain character consistency. A template for these prompts will be shared on the speaker's Telegram channel, which also offers resources related to automation.
Step 3: Image Generation with Piculmen [5:25]
The video transitions to demonstrating how to generate images using Piculmen. The speaker guides viewers through the process of signing up with an email and inputting the generated prompts. The speaker shows previously generated scenes and then demonstrates how to generate a new scene. This involves pasting the prompt, selecting the appropriate size (9:16 for short videos), and adjusting settings to maintain character consistency using the "seed" feature. By fixing the seed and slightly altering it for subsequent images, the AI is more likely to produce consistent characters.
Step 4: Adding Motion with PixVerse [8:36]
The tutorial moves on to adding motion to the generated images using PixVerse. The speaker explains how to sign up and use the platform, noting that new users receive 30 credits, allowing for three free generations, with daily credits awarded thereafter. The process involves uploading an image, inputting a prompt to describe the desired motion (e.g., "cute looking, head moving"), and generating the animated video clip. The speaker suggests using simple prompts for video generation to avoid confusion and achieve better results.
Step 5: Video Editing with CapCut [12:38]
The video editing phase is demonstrated using CapCut. The speaker guides viewers through creating a new project, importing the generated video clips in sequence, and adjusting the video size to fit the 9:16 ratio. To remove the PixVerse watermark, the speaker recommends copying the video, overlaying it on the original, and using the mask tool to cover the watermark. The speaker also emphasizes the importance of adding sound effects to enhance the video, such as cat sounds, street noises, and other relevant audio cues.
Step 6: Enhancing Video Quality and Adding Transitions [17:24]
The speaker explains how to enhance video quality by adjusting settings like saturation, brilliance, and contrast. The speaker also demonstrates how to add transitions between clips using the camera effects in CapCut. The speaker recommends setting the resolution to 1080p at 30fps for high-quality export.
Step 7: Uploading and Optimizing on YouTube [18:57]
The final segment covers uploading and optimizing the video on YouTube. The speaker advises giving the video a relevant title and using appropriate hashtags. The speaker stresses the importance of marking the video as AI-generated content by selecting "Yes" under "AI-generated content" to avoid potential monetization issues. The speaker recommends setting the audience as "No" for children to allow for broader advertising. The speaker also shares a tip about scheduling uploads for optimal visibility, suggesting 8 PM based on their experience. The speaker concludes by referencing a full course for more in-depth information on YouTube automation.