TLDR;
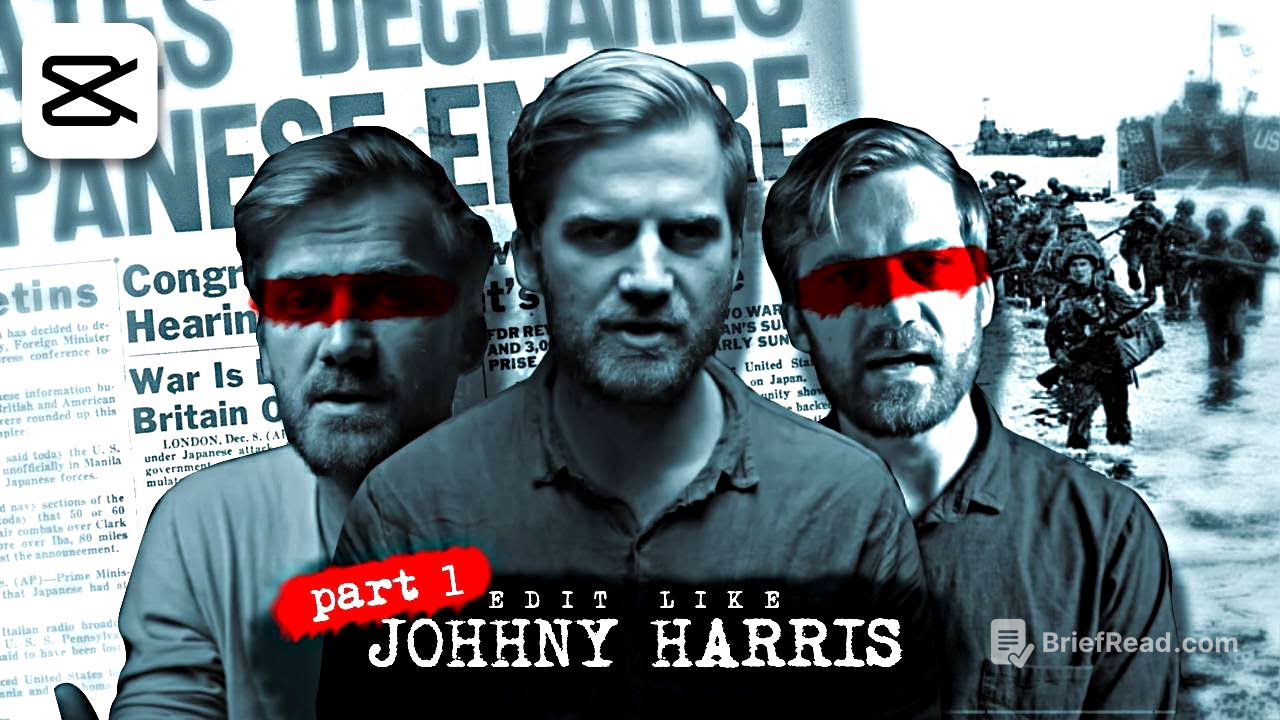
This video provides a step-by-step tutorial on how to recreate Johnny Harris's signature documentary editing style using CapCut. It focuses on a specific scene, breaking down the creation of text animations, image treatments, transitions, and map animations. The tutorial covers techniques such as using keyframes, masks, blending modes, and various effects to enhance storytelling through dynamic visuals.
- Creating text animations with retro typewriter effects and zoom effects.
- Enhancing images with black and white conversion, memo cutouts, and 90s effects.
- Smoothing transitions using film roll overlays, TV warble, and bad TV2 effects.
- Animating maps with 3D effects, line animations, and zoom effects.
Creating a Text Animation [1:13]
To create a text animation, first add a text layer and type the desired text, using the "intellect to typewriter" font. Apply the "Retro typer" animation as the inanimation with a duration of 3 seconds. Split the text layer one second before the last frame, add a keyframe on transform one second prior to the split, and reduce the scale slightly on the last frame to create a zoom-out effect. Increase the scale of the split text layer, compound both text layers, and add a film dust overlay for the background. Finally, add an adjustment layer and set the contrast to -18.
Adding Assets and Effects to Images [2:36]
The process involves adding photos of figures, converting them to black and white by reducing saturation, and inserting a memo cutout between them. Apply the "90s" effect with specific settings, and add an adjustment layer, modifying the whites to -34. Compound all layers, clip them, and speed up the clip to 10x.
Creating a Transition [4:02]
To smooth out a cut, insert a film roll overlay at the cut between two clips and change the blending mode to screen. Add the "TV warble" effect before the first text layer cut, matching its duration with the first clip, using specified settings. Apply the "bad TV2" effect to the second text layer, matching its duration with the first effect.
Reusing Backgrounds and Creating Memos [4:45]
Reuse the film dust background and add a memo. Invert the memo's colors by adjusting the curve, then add a white stroke around it by reducing the scale and adding a white background. Use a mask to create a stroke effect around the memo. Compound both layers and position them properly. Duplicate the memo three times to represent three pages, replacing the old memo page with a new one for each duplicate. Compound all layers again, create a zoom-out effect at the first second using keyframes, and smooth the motion by changing the keyframe curves to ease. Copy and paste the adjustment layer from before onto this clip.
Creating Titles and Using Historical Figures [6:30]
Begin by making a rough cut and adding a white background. Add a text layer to create a title, using the typewriter font and selecting "retro typewriter" as the in animation with a duration of 1 second, and "slide up" as the out animation. Insert a photo of a historical figure and lower the saturation to the minimum for a black and white effect.
Masking and Adding Text to Images [7:19]
Use a white background and add the same historical figure's photo as in the previous clip. Modify the image using the masking tool, selecting a rectangle and adjusting the mask to create rounded edges. Position the image and add a text layer to display the figure's name and role, using the sbol font for the name and Sarah regular for other text layers. Add vertical text on the edge of the image.
Creating a Map Animation [8:23]
Import a map created using snazzy map in photo P. Apply the "player 3" effect to add a 3D effect, setting the texture to the lowest setting and adjusting the rotation. Remove the fade-in effect by compounding the layer and trimming the fade duration. Add a line animation using a line asset created in photopia, changing the blend mode to multiply. Animate it using masking, selecting split, rotating the mask 90 degrees, and positioning it to the right until the line disappears. Add a keyframe, move forward a few seconds, and shift the mask to the left until the line fully appears. Create a crossline animation using similar steps.
Zooming and Finishing the Map Animation [10:04]
After animating the crossline, compound the layer and duplicate it, flipping the duplicated layer. Select both crossline layers and compound them again, then position them in the desired place. Select all layers in the clip and compound them again. Add a zoom-in effect by positioning the playhead a few seconds before the last frame, adding a keyframe in the transform settings, moving forward to the end of the frame, increasing the scale, and repositioning it to focus on the cross mark. Change all curves to ease.