TLDR;
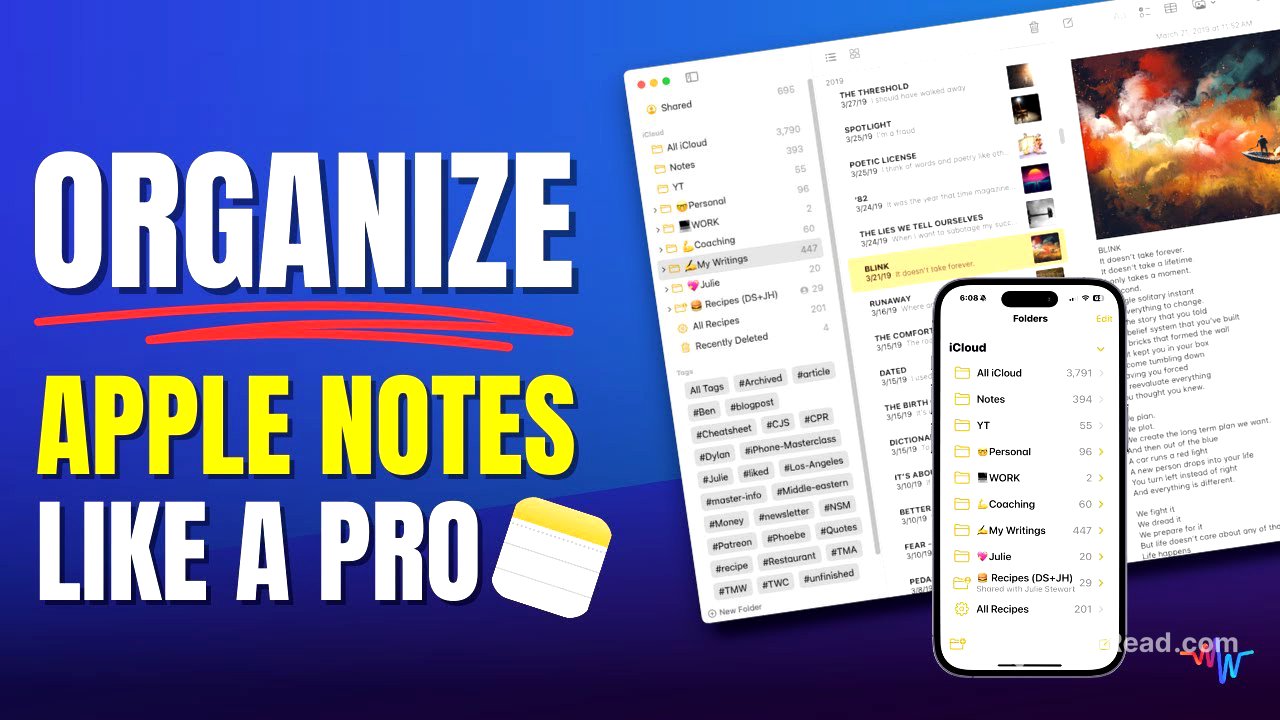
This video provides a comprehensive guide to organizing and decluttering the Notes app on macOS. It covers essential tips such as pinning notes, using folders and subfolders effectively, leveraging hashtags and smart folders for efficient searching, and consolidating existing notes to eliminate clutter. The video also shares a MacWhisperer power tip on making notes stand out using emojis and photos.
- Pinning notes for quick access
- Organizing with folders and subfolders
- Using hashtags and smart folders for efficient searching
- Consolidating existing notes to eliminate clutter
- Adding emojis and photos to make notes stand out
Pinning Notes [0:34]
Pinning notes is a simple method to keep important notes at the top of your list. To pin a note, right-click on it and select "Pin Note," or swipe from left to right on the note. Pinned notes appear in a dedicated section at the top of the "All" folder, providing easy access without needing to navigate through different folders. Unpin notes by right-clicking and selecting "Unpin Note." It's recommended to keep the number of pinned notes between 10 and 15 for simplicity.
Folders and Subfolders [1:52]
When creating a new folder for the first time, the Notes app automatically generates three main folders: "All iCloud" (or similar, depending on your iCloud setup), "Notes," and your new folder. The "All iCloud" folder contains all notes in your iCloud account, while the "Notes" folder serves as an unsorted section for new notes. To manage folders effectively, consolidate them into five basic categories such as work, personal, family, finances, or medical. Subfolders can be created within these main folders to further organize your notes. Drag notes from the "Notes" folder into the appropriate folders and subfolders to keep everything sorted.
Hashtags [7:02]
Hashtags are useful for creating specific searches and fine-tuning what you're looking for, especially when topics span multiple folders. To add a hashtag, type a pound sign (#) followed by the desired tag at the bottom of a note. Existing hashtags will appear in a list, or you can create a new one. Be intentional with your tags to avoid creating too many, which can make the system ineffective. Use hashtags to link notes across different folders or combine different topics.
Smart Folders [9:58]
Smart Folders automatically file notes based on specified rules, such as hashtags or date ranges. To create a Smart Folder, right-click on a hashtag and select "Create Smart Folder." You can customize Smart Folders by adding additional tags or rules, such as date created, date edited, whether it contains attachments, or the folder it's in. Smart Folders are identified by a gear shift icon and can be edited to refine search criteria, making it easier to find specific notes without manual filing.
Cleaning Up and Consolidating Existing Notes [12:01]
Consolidate notes on the same topic to avoid scattered information. Open multiple notes in separate windows by double-clicking them, then cut and paste the content into a single note. Delete the now-empty notes to eliminate clutter. Create specific folders for broader categories, such as "Restaurants," and then create sub-notes for different cities. Use Smart Folders to find old notes by setting a date range (e.g., notes edited before 2021) or to locate unchecked items on checklists. Delete irrelevant or outdated notes and checklists. Also, identify and delete empty folders or consolidate underutilized folders into more relevant categories.
MacWhisperer Power Tip: Make It Stand Out [16:57]
Add emojis to folders and notes to make them visually distinct. Use the key code Command + Control + Space to bring up the emoji menu on a Mac. You can also add photos to notes, which will appear on the right side and in gallery view, making the notes even more noticeable. Drag and drop images from Finder into notes to quickly add visual cues.


