TLDR;
This video explains the concept of exposure in photography, detailing the interplay between aperture, shutter speed, and ISO, known as the Exposure Triangle. It covers how each setting affects the final image and how to creatively adjust them to achieve desired effects like shallow depth of field or motion blur. The video also introduces priority modes as a stepping stone to shooting in full manual mode, and the use of neutral density filters to control light in various scenarios.
- Understanding the Exposure Triangle (Aperture, Shutter Speed, ISO)
- Creative control over image appearance through manual settings
- Using priority modes as a bridge to full manual photography
- Practical application in different shooting scenarios
Introduction to Exposure [0:00]
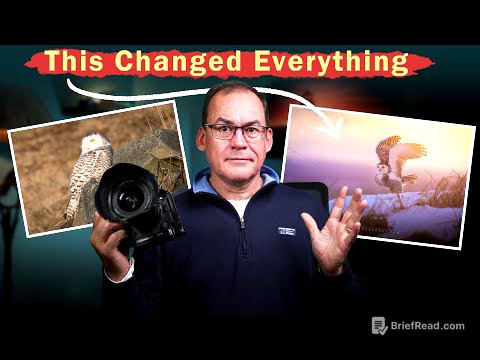
The video starts by illustrating the concept of correct exposure through a series of images, highlighting how different settings can affect sharpness, blur, and overall image quality. It introduces the idea of "Creatively Correct Exposure," which goes beyond simply achieving a technically correct image to deliberately choosing settings for artistic effect. The video promises to simplify the complexities of exposure to help viewers master their cameras.
Understanding Exposure Mechanisms [0:59]
Exposure is defined as the amount of light that passes through the lens and camera shutter, registering on a photosensitive medium. Three key mechanisms control exposure: aperture, shutter speed, and ISO. Aperture refers to the size of the lens's entrance pupil, with a wider aperture allowing more light. Shutter speed is the duration the camera's shutter remains open, allowing light to pass through. ISO measures the sensitivity of the camera's sensor to light, with higher ISO settings increasing sensitivity.
Aperture Explained [2:30]
Aperture is the size of the lens's entrance pupil, controlled via a dial on digital cameras or a physical ring on older film cameras. The aperture value, or F-stop, is a ratio of the lens's focal length to the size of the entrance pupil. Smaller F-numbers (e.g., f/2.8) indicate a larger aperture and more light, while larger F-numbers (e.g., f/22) mean a smaller aperture and less light. Aperture also affects depth of field: larger apertures (smaller F-numbers) result in shallow depth of field, while smaller apertures (larger F-numbers) increase the range of focus.
The Exposure Triangle and Stops [5:38]
The Exposure Triangle refers to the interconnected nature of aperture, shutter speed, and ISO. Changing one setting requires compensating with the others to maintain correct exposure. A "stop" is a unit of measurement for light; doubling the light increases exposure by one stop, while halving it decreases it by one stop. Adjustments to shutter speed and ISO directly correlate to stops, while aperture adjustments follow a more complex scale, often in thirds of stops on digital cameras.
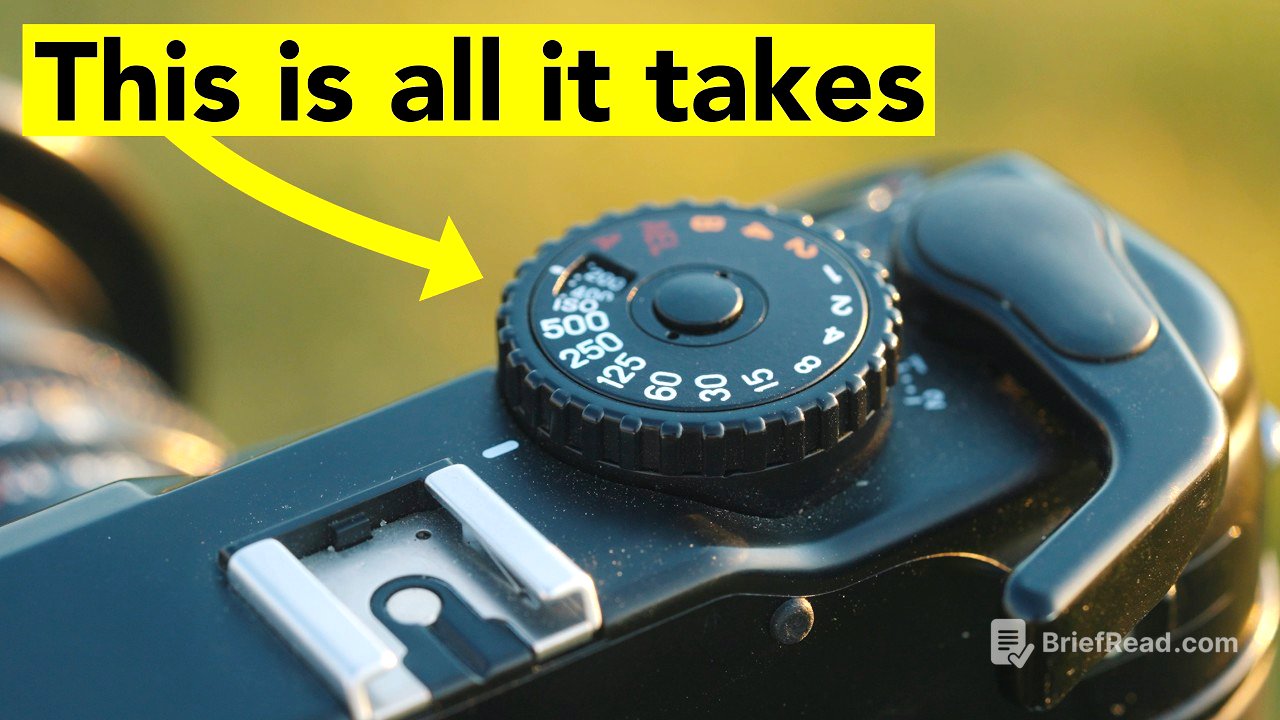
ISO and Shutter Speed [9:25]
Increasing ISO makes the camera sensor more sensitive to light, but also introduces more grain or noise, especially in digital cameras. The base ISO is the setting at which the sensor performs optimally. Shutter speed affects how motion is captured; faster speeds freeze motion, while slower speeds blur it. Adjusting shutter speed can compensate for changes in aperture or ISO to maintain proper exposure, but it also alters the aesthetic of motion in the image.
Neutral Density Filters [12:34]
Neutral Density (ND) filters reduce the amount of light entering the lens, allowing for longer shutter speeds in bright conditions. Variable ND filters, like the Freewell K2 system, offer adjustable light reduction. Using ND filters allows photographers to achieve effects like soft water or light trails without overexposing the image. The choice of settings ultimately depends on the desired creative outcome.
Priority Modes [14:46]
Priority modes bridge the gap between fully automatic and manual shooting. Aperture Priority allows the photographer to set the aperture while the camera adjusts shutter speed and ISO for correct exposure. Shutter Priority allows setting the shutter speed while the camera adjusts aperture and ISO. These modes are useful for controlling depth of field or motion blur, respectively, and serve as a learning tool for understanding how the camera compensates for different settings.
Practical Examples with Priority Modes [19:25]
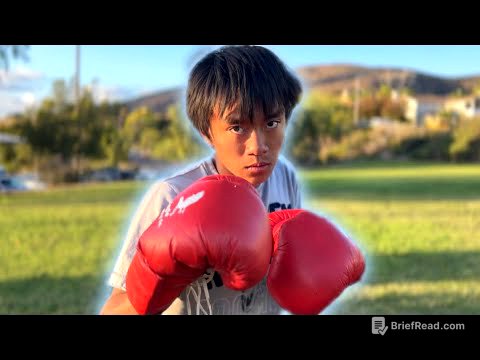
The video demonstrates using Aperture Priority to control depth of field in landscape shots, and discusses how to use auto ISO in low-light situations. It also explores using Shutter Priority to freeze motion, like capturing a person running. The examples illustrate how priority modes simplify the process of achieving specific creative effects while still allowing the camera to handle some of the technical aspects of exposure.
Low Light Photography and Tripods [24:19]
In low-light conditions, achieving correct exposure becomes more challenging. Shooting handheld at slow shutter speeds can introduce motion blur. While increasing ISO can brighten the image, it also increases noise. Using a tripod allows for longer exposures without camera shake, enabling techniques like capturing light trails. This section emphasizes the importance of adapting shooting techniques to different lighting conditions.
Creatively Correct Exposure
The video concludes by reiterating the concept of "Creatively Correct Exposure," which involves intentionally choosing camera settings to achieve a desired artistic effect. While automatic modes can produce technically correct images, they lack the creative problem-solving ability of a photographer. Mastering the fundamentals of exposure allows photographers to combine technical understanding with creativity, leading to a unique and personal style.