TLDR;
This video introduces nine essential G-code lines for CNC mill programming, acting as a starting point for beginners. It connects basic CNC programming to middle school math concepts like coordinate graphing. The video also explains each code's function, from tool selection and spindle control to defining work offsets and executing movements. It emphasizes the importance of understanding these fundamental codes before moving on to more complex programming or CAM systems, and encourages viewers to download bonus content with codes for both mills and lathes.
- Nine G-code lines are essential for CNC mill programming.
- CNC programming is connected to middle school math concepts.
- Understanding fundamental codes is crucial before advancing.
Introduction to CNC Programming [0:00]
The video introduces the idea of CNC programming by relating it to the seemingly complex manuals filled with numerous codes. It presents the concept of simplifying the learning process by focusing on nine essential lines of code that every CNC programmer should know. The presenter teases the reveal of these codes, promising to demystify the initial steps of CNC programming.
Connecting Math to CNC Programming [0:42]
The presenter draws a parallel between CNC programming and basic math concepts learned in middle school, specifically coordinate graphing. It explains how plotting points on a graph with X and Y axes is similar to defining toolpaths in CNC programming. The presenter highlights how skills like plotting coordinate pairs and understanding positive and negative values are fundamental to CNC programming.
The Nine Essential Lines of Code [3:05]
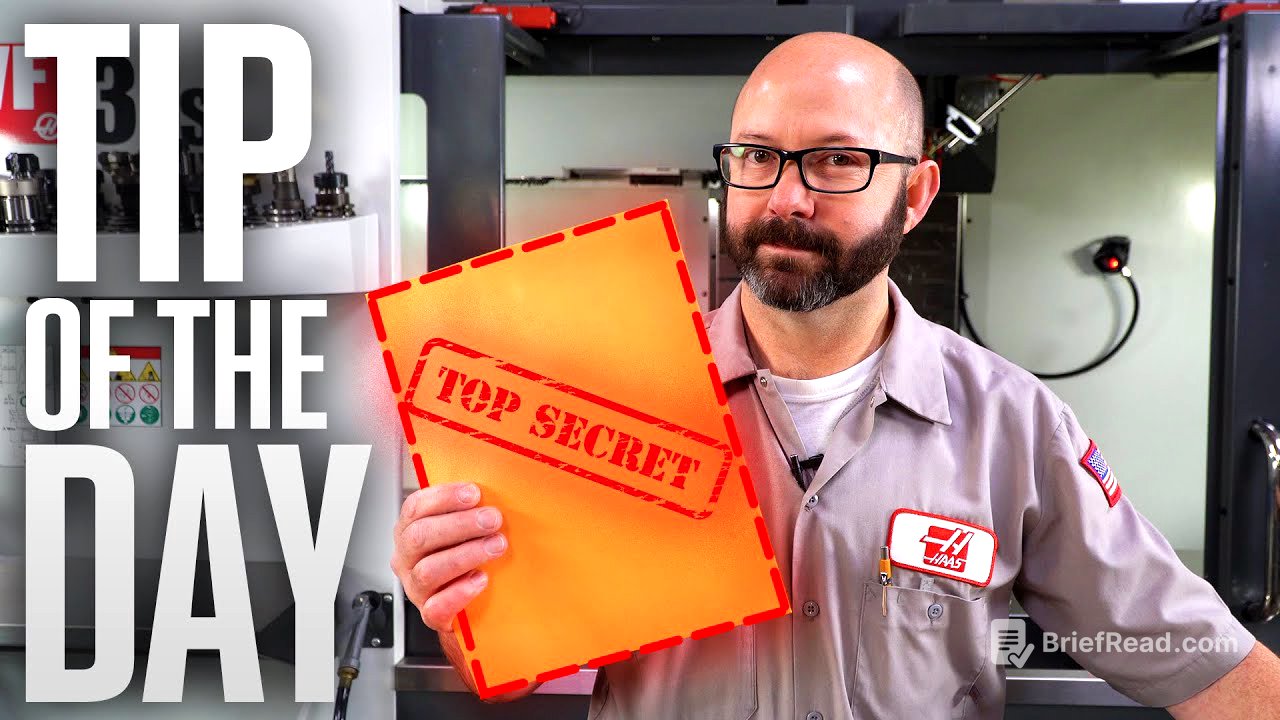
The video transitions to revealing the nine most basic lines of code for CNC programming. It emphasizes the importance of understanding each line before attempting to program a CNC machine. The presenter mentions that a downloadable document containing these codes will be provided in the video description, along with bonus content that includes codes for both mills and lathes, as well as suggestions for further study.
Explanation of Each G-Code Line [4:49]
The presenter provides a brief overview of each of the nine essential G-code lines. These include:
- Percent signs (%): Used at the beginning and end of the program.
- O number: A unique identifier for the program.
- M06 T1: Command to put tool number one in the spindle.
- M03 S7500: Command to turn the spindle on clockwise at 7,500 RPM.
- G54: A work offset that references a specific row on the work offset page.
- G00, G90, G17: A safe startup line that includes rapid move, absolute mode, and plane selection.
- XY starting position: The initial position of the tool.
- G43 H01: Codes that work together to let the machine know where the tool is in relation to the machine and part in the Z axis.
- M08: Turns on the coolant.
- G01: Machines in a line.
- G00: Rapid from spot to spot.
- M30: Ends the program.
Practical Application and Verification [8:36]
The video explains how to use G01 for machining shapes by feeding from point to point, and G00 for rapid movements between shapes or cuts. It also touches on how to verify the created code using graphics on the machine or a desktop mill with a pen attachment for practice. The presenter reiterates that learning these codes is the first step for both operators and students interested in G-code programming.
Conclusion and Additional Resources [9:50]
The video concludes by encouraging viewers to like the video and download the bonus content, which includes basic mill and lathe codes, as well as suggestions for advanced codes to study next. It suggests transitioning to a modern CAM system after mastering G-code. The presenter thanks the viewers for watching and emphasizes the importance of these codes as a starting point for CNC programming.