TLDR;
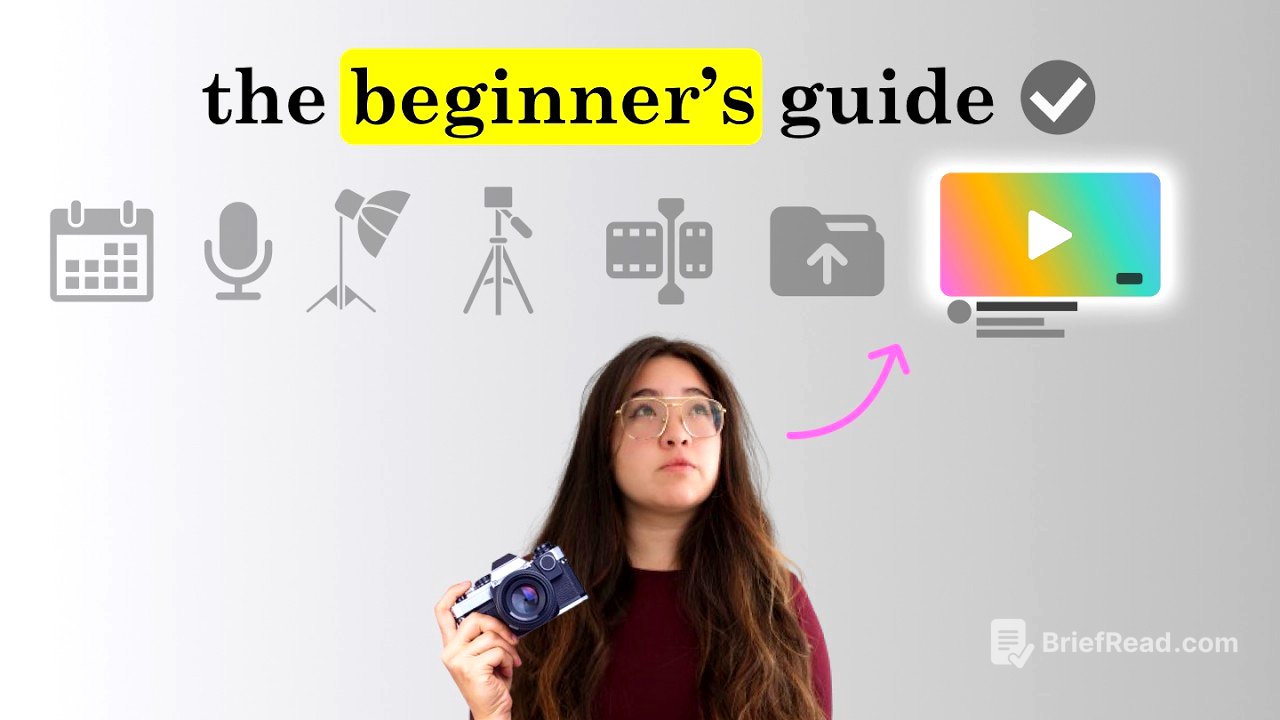
Creating a first YouTube video is more manageable when broken into five steps: plan, script, film, edit, and package it with a title and thumbnail. The key is to choose a clear starting point, work to a deadline, and focus on learning rather than achieving perfection. Every creator starts somewhere, and progress comes from publishing and improving with each video.
- Pick a channel focus and a video idea, then set a firm deadline.
- Use an outline and shot list to guide what you say and show.
- Start with the equipment you already have, prioritising clear audio, good lighting and a steady camera.
- Edit for clarity and pacing, then create a title and thumbnail that communicate the video’s value.
- Publish before you feel completely ready; the most important step is starting.
Planning [0:43]
A strong first video starts with three decisions: your channel’s focus, your first video idea and a deadline. Your niche is the main topic or type of content your channel will cover. Choose something you genuinely enjoy and could make videos about for a while, but remember that your niche can change as you learn what suits you and what resonates with viewers. A channel benefits from a clear general direction: viewers should have a reasonable idea of what they are subscribing to. Looking at established creators in your niche can help you see what kinds of videos attract an audience, but do not let research turn into an excuse to delay starting.
To develop your first idea, choose a topic and then decide on a format. The topic is what the video is about; the format is how you present it. For example, a morning-routine video could be a tips-based talking-head video, a personal vlog or a science-focused video essay. Once you have an idea, set a firm upload deadline, ideally within the next seven days. A date on your calendar helps prevent endless postponing and overthinking. The aim is not to make a perfect video, but to publish something real that you can learn from.
Scripting [4:27]
A script does not have to contain every word you will say. It can simply be a roadmap that helps you stay focused, avoid rambling and remember important points; it will also make editing easier. Begin by listing the main points in the order you want to cover them. These might be teaching steps for an educational video or events and scenes for an entertainment video.
Build out the points using the three Ps: promise, progress and payoff. For each section, consider why viewers should care, what context they need, what the main takeaway is and how the section moves them from one point to the next. Add a short, punchy introduction that hooks viewers and explains what to expect, then finish by reinforcing the value of the video and giving viewers a satisfying sense of completion. You can stop at an outline or write the whole video word for word, depending on what feels comfortable. Before filming, prepare a shot list: a simple guide to the visuals you need, such as direct-to-camera footage, screen recordings or close-ups.
Filming [7:09]
Feeling awkward or nervous on camera is normal, and filming is a skill that improves through practice. Expensive equipment is not essential: a modern smartphone can be enough to get started. Focus first on three basics. Record in a quiet space and reduce echo with soft furnishings for clear audio; use daylight from a window or an affordable lamp for lighting; and keep the camera stable with a tripod, a stack of books or another sturdy support. Frame yourself with a little space above your head, keep the camera roughly at eye level, and choose a clean, uncluttered background.
Use your script and shot list to guide the recording. To feel more confident, rehearse what you want to say, look into the camera lens as if speaking to a friend, and warm up by talking about something casual before starting the script. Mistakes are fine: pause, take a breath and try again, because editing can remove unwanted takes. Once the main footage is complete, take a few thumbnail photos while your camera and lighting are still set up. Try poses or expressions that suit the video. Completing the filming stage is a major step towards publishing.
Editing [11:17]
Editing brings the footage together into a clear, engaging story, but beginners only need to learn the basics at first. Organise your clips into a folder and rename them if needed, then choose editing software. DaVinci Resolve is a free option with room to grow. Most editing programmes have a media library for footage and other assets, a timeline for arranging the video and a preview window for checking the result. Short tutorials can help you learn the basic layout.
Start by cutting awkward pauses, mistakes and tangents to create a rough cut: the video in its simplest assembled form. The video demonstrates the sponsor tool Gling, which can transcribe footage and automatically remove silences or mistakes; its cuts and silence settings can be adjusted before exporting the rough cut to editing software. After that, add B-roll—extra footage that supports what you are saying, such as screen recordings, close-ups or action shots. Simple on-screen text can clarify key points or mark transitions. Background music and sound effects may add atmosphere, but keep them quiet so they do not overpower your voice. Watch the complete edit, adjust awkward moments and avoid polishing endlessly: a straightforward first edit is enough to get started.
Packaging [15:45]
A video’s title and thumbnail act like its storefront: they help viewers decide whether to click. A title should attract attention, create curiosity and make a clear promise about what the video offers. Keep it concise—around 70 characters or fewer makes it easier to read on mobile—and give viewers a reason to care. For instance, “My productive morning routine as a night owl” gives a more specific reason to click than “My morning routine”.
The thumbnail should catch the eye and complement the title. It should remain clear when reduced to a small size, and free tools such as Canva can help create one. Give it a clear focal point, such as yourself or the subject of the video; use the rule of thirds by placing that focus in the centre or along one of the side thirds; and use contrast, colour or a small amount of bold text to make the main idea stand out. Keep the design simple enough for viewers to understand in about two seconds. Looking at thumbnails from other creators in your niche can provide inspiration, but titles and thumbnails are skills that improve with practice. Once they are good enough to communicate the idea, upload the video and publish it.
Start Before You Feel Ready [18:46]
Making a first video can feel exciting and frightening at once. It is common to worry that nobody will watch, or that the video will not be good enough. Yet every creator people admire began with a first upload, and their early work was not perfect. They improved by recording, publishing and learning rather than waiting for the ideal moment.
When the process feels overwhelming, return to the five steps: plan, script, film, edit, and create a title and thumbnail. Set a deadline and commit to publishing. The hardest part is often not the technical work but pushing past the fear of not being ready. The challenge is to start without waiting for permission or certainty: make the video even if it is messy, and take the first step towards becoming a creator.