TLDR;
Justine sets out to complete a YouTube video in 72 hours by breaking the process into six steps: choosing a story, picking music, scripting, creating a shot list, editing and making a thumbnail. Her aim is to make creating videos feel manageable and enjoyable rather than putting pressure on herself to grow quickly or make every video perfect.
- Choose a clear idea that viewers can find interesting even if they do not already know the creator.
- Use music, notes and a shot list to give the video structure while leaving room for creativity.
- Make editing less overwhelming by setting one achievable priority.
- Create a thumbnail that gives people a reason to click.
Starting a YouTube Video Without the Pressure [0:00]
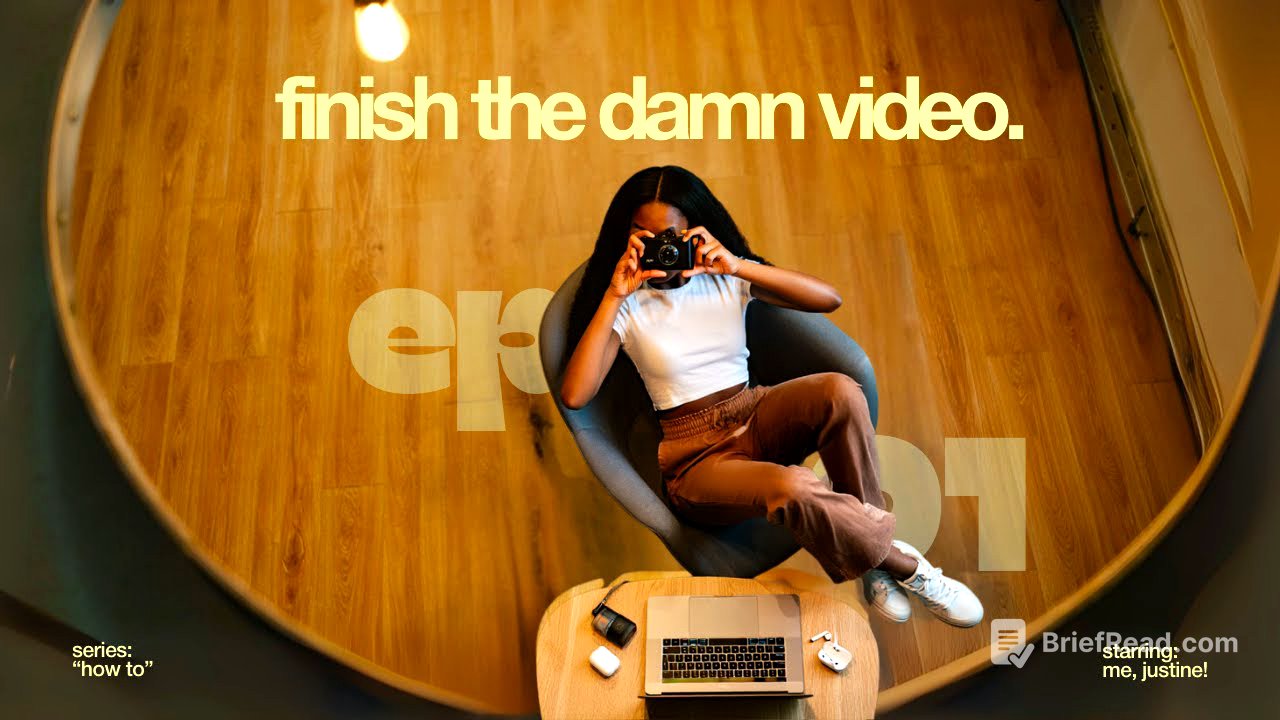
Justine explains that she has repeatedly started and stopped making YouTube videos, often because she gets caught up in her own expectations. Instead of focusing on monetisation or needing to call herself a YouTuber, she wants to treat each video as a small passion project. She gives herself 72 hours to finish this one and divides the work into six steps: story, music, script, shot list, production and thumbnail.
Step One: Find a Clear Story or Idea [1:05]
A video needs a central idea, theme or feeling, such as an event, topic, life lesson or mood. For newer creators, the idea should be compelling even to viewers who do not already know them. Justine illustrates this with a creator whose video title clearly explained the subject and whose thumbnail made the project appealing on its own. The story for her own video is how to make a YouTube video and actually finish it, inspired by the many videos she has made but never published.
Step Two: Choose the Music [2:13]
Justine usually chooses music last for short-form videos, but decides to select it first this time after hearing another creator recommend that approach. Music can shape a video’s pace and make it feel exciting or dramatic. For this project, she wants a sound that is slightly suspenseful but still fun and suited to her personality. She uses Epidemic Sound, while noting that YouTube’s audio library and Thematic are also options, including free resources.
Step Three: Make a Flexible Script [3:01]
Having her planned words in front of her makes filming easier, even though Justine does not normally write videos out in full. She prefers a more flexible, free-flowing approach. For this video, she writes down her thoughts and ideas, outlines the main points, considers possible titles and adds music. She organises this work in Notion, combining the script with planning for the video’s overall look and feel.
Step Four: Build a Shot List [3:40]
Justine is unfamiliar with making shot lists, so she adds visual directions in brackets alongside relevant parts of her script. For example, the opening includes a photo-booth-style frame, text, a black screen and a clip of her looking sad in a coffee shop. After writing the script herself, she puts it into ChatGPT and asks it to extract the filming instructions and clips she needs to gather. This produces an organised visual checklist; she sees AI as assisting with the organisation, rather than writing the script. She may use this method for videos with a strong, specific idea, while allowing herself to learn the process gradually.
Step Five: Edit Without Getting Stuck [5:45]
Justine calls editing the “graveyard” because she often works for an hour, completes only a few seconds, feels overwhelmed and abandons the video. To avoid repeating that pattern, she sets one main condition for success: the video needs a strong, enjoyable intro. Focusing on making the opening look and sound good takes pressure off the rest of the edit and gives her a clear, manageable challenge. Once the intro is finished, she can consider the task a success and keep moving forward.
Step Six: Create the Thumbnail [6:39]
The thumbnail is the final challenge because it helps persuade viewers to click; a good video may still go unwatched if its thumbnail does not attract attention. Justine looks for inspiration across Pinterest, YouTube, Dribbble and Behance, sometimes adapting ideas with changes of her own. She plans to use Canva, which she finds convenient for adding text and effects, and would turn to Photoshop if a thumbnail required more specialised work.
Resolution: Keep Creating and Stay Organised [7:31]
Justine describes herself as messy and disorganised, but says that being more organised in her work has helped her. She is not yet sure whether she will continue scripting and planning in this detailed way, but hopes the process was useful to viewers. She also has ideas for future videos and intends to keep creating.