TLDR;
This session focuses on setting up Playwright for test automation. It covers the prerequisites, installation methods, understanding the project structure, and running basic tests. Key points include installing NodeJS and VS Code, using either VS Code extensions or terminal commands to install Playwright, and understanding the roles of key files and folders like playwright.config.js, package.json, and node_modules.
- Installing NodeJS and VS Code
- Installing Playwright using VS Code extensions or terminal commands
- Understanding project structure and key files
- Running basic tests and configuring browsers
Introduction [4:21]
The session will cover Playwright installation, prerequisites, running tests, and understanding the folder structure after installation. The primary focus will be on setting up Playwright and running initial tests to ensure the environment is correctly configured.
Prerequisites for Playwright Installation [6:03]
To use Playwright, NodeJS must be downloaded, which includes npm (Node package manager). NodeJS is essential for running JavaScript or TypeScript code. Npm is required to install NodeJS libraries. VS Code is recommended as the editor, and a project folder needs to be created and accessed via VS Code. Playwright can be installed either through the VS Code extension or via terminal commands.
Installing NodeJS [10:04]
To install NodeJS, navigate to the NodeJS downloads page in a Chrome browser. Select the appropriate installer for your operating system (Windows, Mac, or Linux). Download and run the installer, accepting the default settings by clicking "Next" and then "Install." After installation, verify that NodeJS and npm are correctly installed by opening the command prompt and typing node --version and npm --version. This should display the installed versions.
Installing VS Code [15:50]
VS Code acts as an interface between the programmer and NodeJS, allowing the writing and execution of JavaScript code. To install VS Code, search for "VS Code download" in a Chrome browser and download the appropriate version for your operating system. Run the installer, accept the agreement, and follow the prompts to complete the installation.
Creating a Playwright Project [20:59]
Create a new folder on the desktop named "playwright-projects." Inside this folder, create another folder named "project-one." Open VS Code and select "Open Folder" from the File menu. Navigate to the "playwright-projects" folder on the desktop and select the "project-one" folder. This sets up the basic project structure in VS Code.
Installing Playwright via VS Code Extension [24:14]
To install Playwright using the VS Code extension, open VS Code and click on the Extensions icon on the left sidebar. Search for "Playwright" and install the "Playwright Test for VS Code" extension. After installation, go back to the Explorer view, open the command palette (Show and Run Commands), type "Playwright," and select "Install Playwright." This will prompt you to select browsers and examples to install, completing the Playwright setup for the project.
VS Code Interface Overview [24:32]
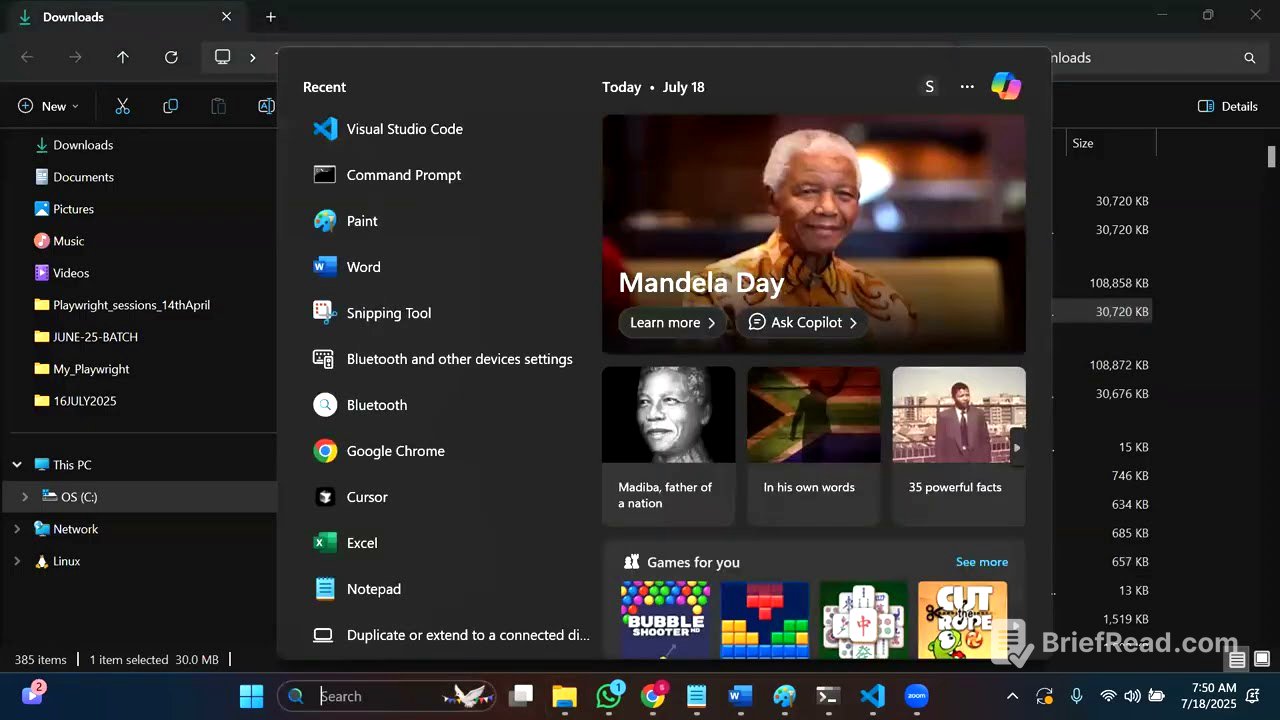
The VS Code interface includes a menu bar, shortcut icons on the left, an explorer for project hierarchy, an editor for writing code, and a terminal for running commands. The explorer shows the project structure, allowing navigation through folders and files. The editor is where code is written and modified. The terminal is used to execute commands and view results.
Installing Playwright via Terminal [33:02]
To install Playwright via the terminal, create a new project folder (e.g., "project-two") in VS Code. Open the terminal within VS Code by clicking "View" then "Terminal." In the terminal, type npm init playwright@latest and press Enter. Follow the prompts to choose JavaScript or TypeScript, specify the tests folder, decide whether to add GitHub Actions files, and choose whether to install browsers. This command installs Playwright and its dependencies directly into the project.
Understanding Project Folders and Files [37:41]
After installing Playwright, several folders and files are created: .github (for GitHub Actions workflows), node_modules (containing NodeJS libraries), tests (for test files), tests-examples (example tests), .gitignore (specifying files not to be tracked by Git), package-lock.json (dependency versions), package.json (managing dependencies), and playwright.config.js (Playwright configuration). The .github folder contains a playwright.yml file, which is used to run Playwright tests in GitHub Actions.
Key Project Files Explained [41:01]
The playwright.yml file in the .github/workflows directory is used to run Playwright tests in GitHub Actions. The node_modules folder contains all the necessary NodeJS libraries for the project. The tests folder is where Playwright tests are written. The tests-examples folder provides sample Playwright tests. The .gitignore file lists folders that Git should ignore. The package.json file manages project dependencies, similar to pom.xml in Maven projects.
Package.json and Playwright Configuration [52:59]
The package.json file is essential for managing project dependencies in NodeJS projects. It allows adding, removing, and maintaining libraries required for the project. The playwright.config.js file acts as a test runner, maintaining all the necessary configurations to run Playwright tests.
Running Playwright Tests [1:01:00]
Playwright automatically downloads Chromium, WebKit, and Firefox browsers. To run Playwright tests, use the command npx playwright test in the terminal. The playwright.config.js file specifies the test directory. The command executes tests in the specified directory across the configured browsers.
Configuring Browsers and Execution Mode [1:09:58]
The playwright.config.js file allows configuring which browsers to use for testing. By default, tests run in headless mode (without opening a browser window). To run tests in headed mode (with a visible browser), use the command npx playwright test --headed. The configuration file also allows setting tests to run in parallel or sequentially.
Summary and Next Steps [1:15:54]
The session covered Playwright installation using extensions and commands, understanding the project hierarchy, and running tests. The key commands are npm init playwright@latest for installation and npx playwright test for running tests. The next session will focus on writing tests, understanding JavaScript concepts, and using async/await for asynchronous operations.