TLDR;
This video provides a quick tutorial on how to create hard covers for planners or notebooks using cardboard, sticker paper, and basic tools. The process involves printing a design on sticker paper, adhering it to the cardboard, trimming and folding the edges, and finishing the back with another piece of sticker paper.
- Use cardboard and sticker paper to create a hard cover.
- Print your design on sticker paper, ensuring it's larger than the cover.
- Adhere the sticker paper to the cardboard, trim the edges, and fold them in.
Materials and Preparation [0:02]
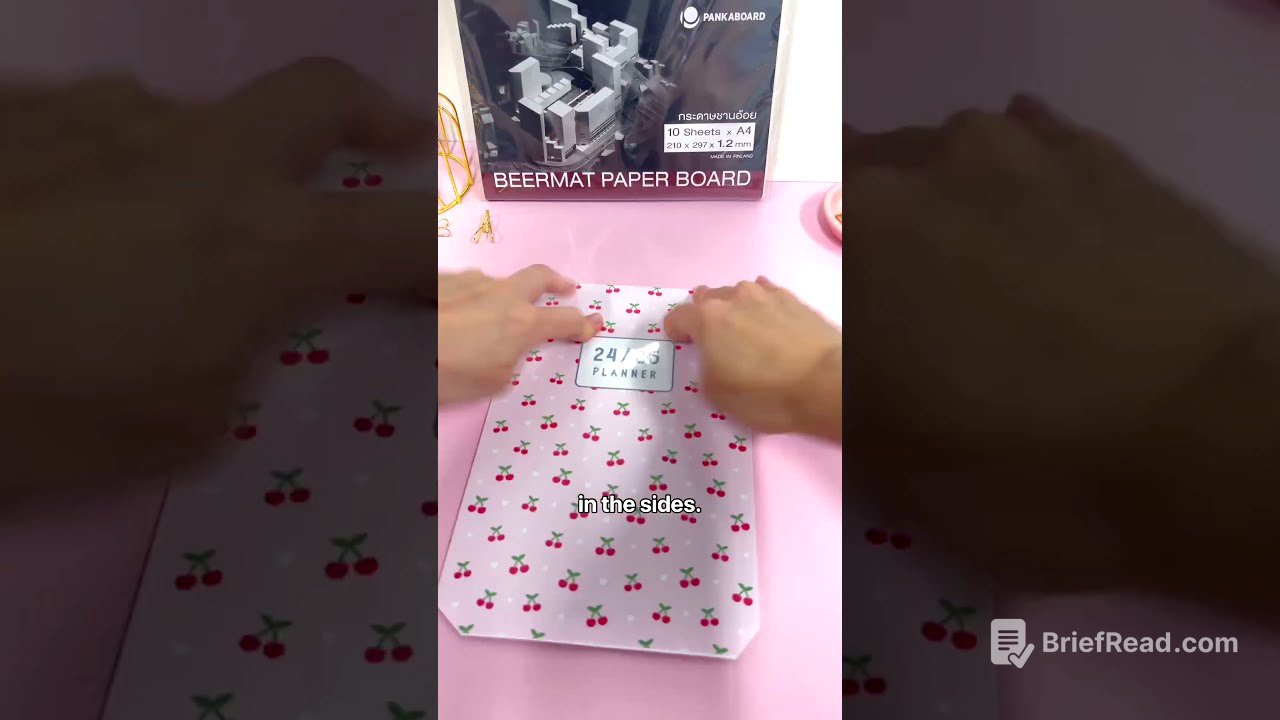
To begin creating a hard cover, you'll need cardboard that is 1.2 mm thick and white sticker paper. Print your desired design on the sticker paper, making sure the printed area is larger than the cover itself. After printing, trim the sides of the sticker paper, ensuring it remains bigger than the cardboard cover.
Applying the Sticker Paper [0:16]
Peel off the backing of the sticker paper to expose the adhesive side. Position your cardboard cover in the center of the sticker paper. Trim the edges of the sticker paper around the cardboard, leaving enough excess to fold over the sides. Fold in these edges to create a clean, finished look.
Finishing the Back Cover [0:23]
To complete the hard cover, take another piece of white sticker paper and apply it to the back of the cardboard. This step conceals the folded edges of the front design and provides a clean, professional finish. With the back covered, your hard cover is now complete.
Final Touches [0:32]
To finalize your planner, use a hole punch to create the necessary holes for binding. This allows you to insert pages and assemble your planner with the newly created hard cover.


