
TLDR;
In this video, the host addresses the setup of a Yamaha acoustic guitar with high action, making it challenging for a child to play. The process involves several steps including checking the neck for bowing, adjusting the truss rod, changing the strings to lighter ones, oiling the fretboard, and adjusting the bridge saddle to achieve optimal string height. Clear attention to detail ensures the guitar is set up correctly for easier playability.
- The guitar has a high action, requiring adjustments to lower the strings.
- Steps include adjusting the truss rod, changing to lighter strings, oiling the fretboard, and sanding the bridge saddle for height adjustment.
Guitar Evaluation and Action Adjustment [0:00]
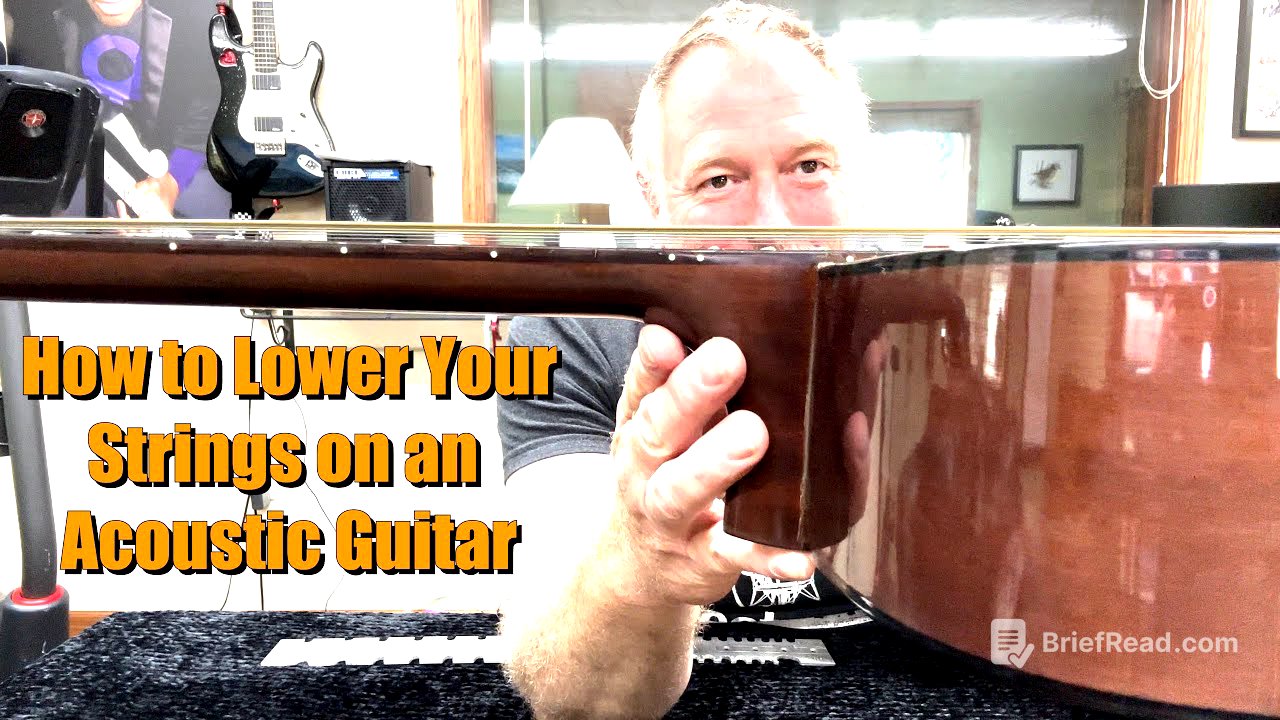
The video begins with the host discussing a Yamaha acoustic guitar, identified as having a high action at the 12th fret—about a quarter of an inch. He plans to demonstrate how to lower the string height for easier playability, specifically for a child learning the guitar. The first step involves checking the neck for bowing using a homemade tool and observing a noticeable gap that indicates a neck bow.
String Replacement and Fretboard Maintenance [2:40]
While the strings are off, the host oils the fretboard with linseed oil, advising against using lemon or orange oil. He emphasizes the importance of careful maintenance, reminding viewers that some oils made specifically for fretboards are preferable. After oiling, he discusses using a 5 mm Allen wrench to adjust the truss rod to help correct the neck bow, explaining the adjustment process of tightening and loosening to keep the fretboard level.
New String Installation and Measurement [5:23]
The host begins re-stringing the guitar with Martin phosphor bronze extra-light strings, suitable for a younger player. He explains that while these strings are good for general use, individuals with high skin pH levels may find them rust quickly. After re-stringing, he notices a reduction in action height but finds it too high for comfortable bar chords, indicating further adjustments need to be made.
Bridge Saddle Adjustment [7:25]
Next, the host loosens the strings to work on the bridge saddle, which he plans to sand down to lower the action further. He explains the process of marking the saddle and sanding it evenly with sandpaper, ensuring to keep it straight to avoid creating an angle. After some sanding, he checks the saddle height and prepares to test the guitar again.
Final Adjustments and Testing [14:30]
After re-installing the saddle and tuning the guitar, he checks the action height. Although the action remains slightly higher than ideal, he finds it playable for basic chords. He notes that it's crucial to be patient with this process, suggesting that if one makes a mistake, they can seek help at a music store. The video concludes with the host reflecting on the setup's success for beginners, closing with a friendly farewell.