TLDR;
This video provides a comprehensive guide to disassembling and troubleshooting a Dyson DC39 vacuum cleaner. It covers the necessary tools, step-by-step disassembly of the vacuum, and inspection of key components like the motor, brushes, switches, and wiring. The video emphasizes potential problem areas and offers tips for diagnosing common issues, including a broken wire in the original Dyson plug, which was the root cause in this particular case.
- Tools needed: Phillips screwdriver, flathead screwdriver, needle-nose pliers, and a T15 Torx screwdriver.
- Key components to inspect: Motor brushes, on/off switch, internal wiring, and the power plug.
- Common issues: Broken wires, faulty motor brushes, and switch problems.
Intro [0:03]
The video introduces a six-year-old Dyson DC39 vacuum cleaner that has stopped working. The purpose of the video is to guide viewers through the disassembly process to troubleshoot and potentially fix their Dyson vacuum, which can save them from spending $400 to $600 on a new one. The presenter lists the necessary tools for the job, including Phillips and flathead screwdrivers, needle-nose pliers, and a T15 Torx screwdriver, emphasizing the need for a solid Torx screwdriver due to the depth of some mounting holes.
Disassembly: Outer Components [1:08]
The initial steps involve removing the filter assembly, dust collector, and the ears located on the sides of the vacuum. The ears are held in place by a single screw and contain bearings, allowing them to rotate upon impact. The video advises setting these parts aside in a safe place, like the ear casings themselves, to prevent losing any screws.
Disassembly: Wheelbase and Housing [1:55]
The presenter removes the wheelbase, which is attached with four screws. With the wheelbase removed, the focus shifts to the bottom of the housing, which requires the T15 Torx screwdriver to remove several deep-set screws. Once these screws are removed, the bottom of the housing can be taken off, revealing the motor and an internal filter that doesn't require regular maintenance.
Disassembly: Motor and Internal Components [2:49]
Removing the motor requires caution due to its weight and the attached wires. The presenter demonstrates how to use a flathead screwdriver to release two lips holding the release mechanism, which reveals two hidden screws. Releasing these screws, along with some side clips, allows the top part of the housing to be removed. The presenter notes that the spring for the cable and the on/off button might fall out during this process.
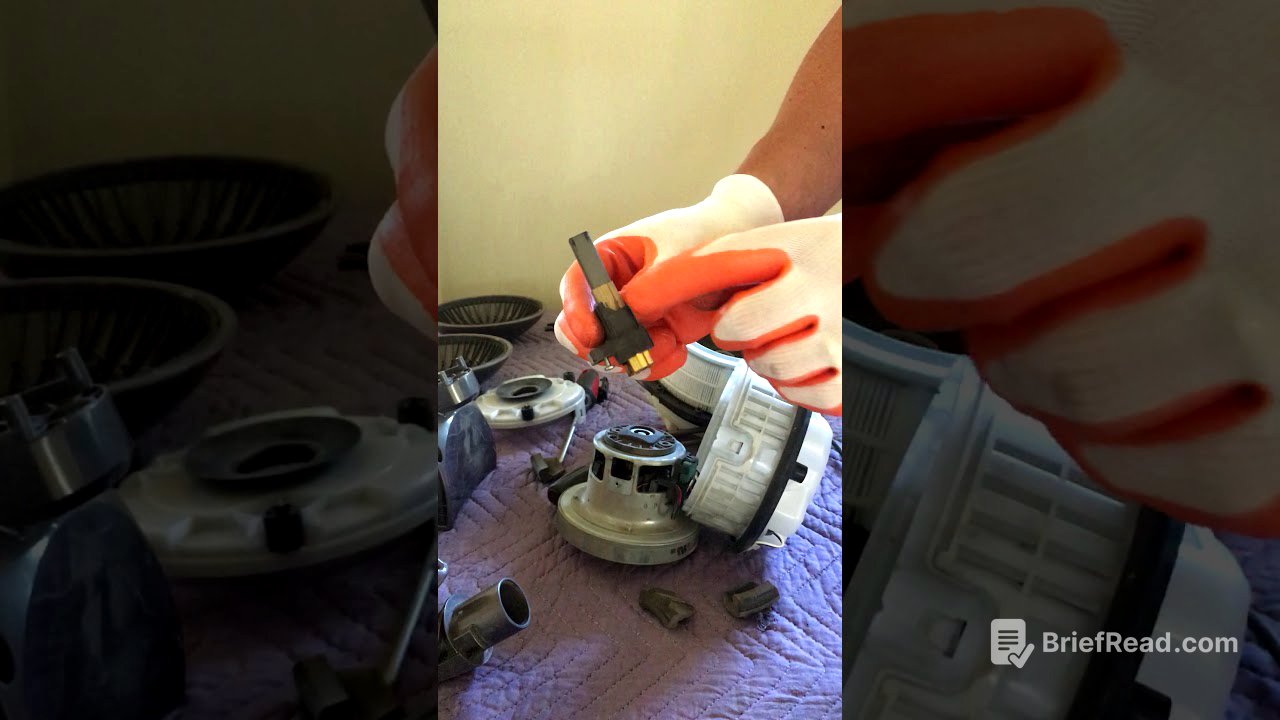
Inspecting the Switch and Wiring [5:00]
The video details the removal of the on/off switch using needle-nose pliers. The switch is tested with an ohmmeter and found to be functional. The presenter then examines the wiring, noting a black box on the white wire that initially appeared to be a fuse but is actually just a connector for disassembling the motor.
Motor Disassembly and Brush Inspection [6:30]
The motor is removed from its housing, and the presenter shows how to take off the cap to access the motor directly. The brushes, located on either side of the motor, are inspected for wear. The presenter explains that while the brushes can be a common point of failure, the brushes in this vacuum are still in good condition. He also shows how to disconnect the motor to measure resistance.
Motor Resistance Measurement [9:28]
The presenter measures the resistance of the motor to check the condition of the windings. A normal reading of 18 ohms indicates that the motor is likely in good working order.
Cable Spool and Wiring Inspection [11:09]
The video addresses the disassembly of the cable spool mechanism, emphasizing the unique design of the DC39's spring mechanism, which is maintenance-friendly. The presenter removes the spring and a wire guide to further inspect the internal wiring. He notes that broken wires are a common issue in Dyson vacuums and demonstrates how to measure connectivity from the plug to the springs.
Identifying the Root Cause and Conclusion [16:04]
The presenter discovers that the root cause of the vacuum's failure was a broken wire within the original Dyson plug. Despite the extensive disassembly, he shares the process to help others troubleshoot their vacuums. The video concludes with a reminder to reassemble the vacuum in reverse order and expresses hope that the guide will save viewers money on repairs.