TLDR;
This video outlines ten common mistakes that beginners make with the DJI Avata 2 drone, which can lead to crashes or damage. These mistakes range from signal loss issues and improper use of filters to incorrect settings and overconfidence in manual mode. The most frequent cause of crashes, often overlooked, is flying with a low battery.
- Understanding signal connection limitations
- Using ND or UV filters for lens protection
- Knowing how to use the Find My Drone feature
- Avoiding aggressive flying too soon
- Shooting at 60 frames per second for smoother feed
- Avoiding takeoff/landing on sand or loose dirt
- Setting correct return to home altitude
- Setting correct signal loss action
- Practicing manual mode in a simulator
- Avoiding flying with low battery
Understanding Signal Connection [0:17]
The DJI Avata 2 has impressive signal range, but it's crucial to understand its limitations. Maintaining a clear line of sight between the goggles and the drone is essential for uninterrupted signal transmission. Obstacles, especially solid ones like hills or ridges, can block the signal and cause a loss of connection. When the signal strength is low, an orange border appears around the bottom of the image in the FPV goggles, turning red as the connection weakens further, signaling the need to turn back immediately. The AR homepoint indicator can be used to maintain line of sight with the takeoff point, preventing signal loss.
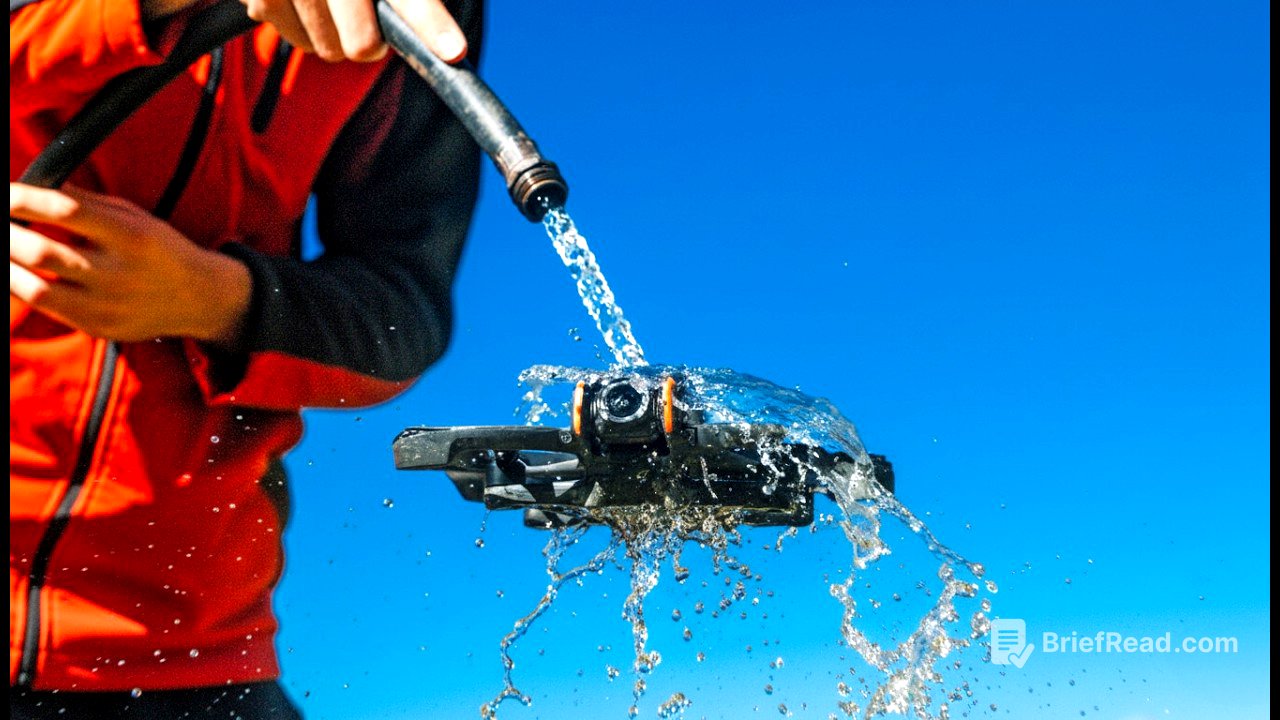
Using ND or UV Filters [2:31]
Using ND or UV filters on the drone is essential for protecting the camera lens. ND filters reduce the amount of light, allowing for slower shutter speeds and natural motion blur. More importantly, filters protect the lens from scratches or breaks during crashes, absorbing the impact and preventing damage to the camera's glass. A clear glass UV filter can be used when ND filters are not needed. After a crash, it's important to check if the ND filter is still attached to recover it.
Knowing How to Use the Find My Drone Feature [4:24]
The DJI Avata 2 offers three tools to locate the drone after a crash. ESC beeping makes the drone's motors beep loudly, helping to locate it audibly. Camera view before loss shows the last 30 seconds of footage before the crash or signal loss, aiding in pinpointing the crash location. The GPS-based find my drone feature, accessible by connecting the goggles to a phone and using the DJI Fly app, displays the drone's location on a map for navigation.
Avoiding Aggressive Flying Too Soon [6:12]
Avoid being too aggressive with flying, especially in manual mode, too soon to prevent crashes and potential damage. Start slower, with a lower gimbal tilt, and in open, high spaces to allow more reaction time. As you gain experience, gradually increase speed and fly in tighter spaces.
Shooting at 60 Frames Per Second [6:49]
Always shoot at 4K 60 frames per second to ensure a smoother feed in the goggles, which makes it easier to react quickly and avoid crashes. Even if the final video is intended to be 30 frames per second, shooting at 60 fps allows for smoother footage when placed on a 30 fps timeline. To achieve natural motion blur, shoot at 60 fps with a 1/160th shutter speed and use the footage on a 30 fps timeline.
Avoiding Takeoff/Landing on Sand or Loose Dirt [7:48]
Avoid taking off or landing on sand or loose dirt to prevent particles from entering the drone's motors or gimbal, which can cause problems. Hand launching the drone or using a drone case or landing pad can mitigate this risk.
Setting Correct Return to Home Altitude [8:45]
Set the return to home altitude higher than the tallest obstacle in the area to prevent the drone from crashing into obstacles while returning home. A return to home altitude of 400 ft is generally recommended to avoid having to assess the height of local obstacles.
Setting Correct Signal Loss Action [9:32]
When flying under trees or indoors, change the signal lost action from return to home to hover to prevent the drone from ascending into overhead obstacles and crashing. Remember to change this setting back to return to home for long-range flying to ensure the drone returns to the home point if signal is lost.
Practicing Manual Mode in a Simulator [10:40]
Practice manual mode in a simulator before flying in real life to become comfortable with the controls and avoid crashes. Use a simulator like Uncrashed or Curry Kitten by plugging the remote controller into a computer with a USB-C cable. Once comfortable, practice with the actual drone in attitude limit mode, which acts as training wheels, before turning it off for the full FPV experience. The brake button on the remote can be used as a panic button to stop the drone and prevent crashes.
Avoiding Flying with Low Battery [13:26]
Avoid flying with too low of a battery, as the drone becomes less responsive and has less power to punch out of dives or overcome obstacles, increasing the risk of crashes. Even before the throttle output reduced warning appears, there is a reduction in throttle power. When the battery gets below 40%, avoid risky maneuvers or bring the drone back to prevent crashes.


![[🎯Ultimate Sniper] Top 15 Snipers in Empires & Puzzles 2024 |Top Heroes - Best Snipers|](https://wm-img.halpindev.com/p-briefread_c-10_b-10/urlb/aHR0cDovL2ltZy55b3V0dWJlLmNvbS92aS9BWFAySS13U0pnMC9ocWRlZmF1bHQuanBn.jpg)