TLDR;
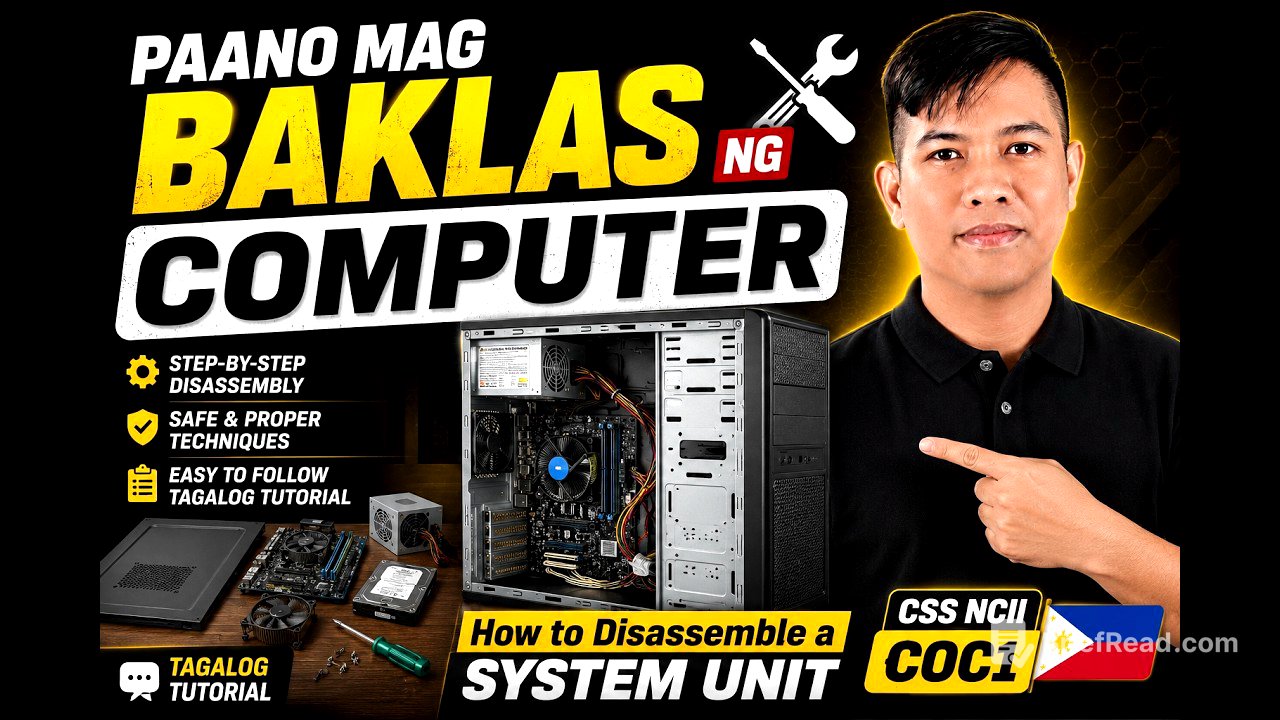
This video tutorial demonstrates how to disassemble a system unit, covering essential tools, safety precautions, and step-by-step instructions on removing various components. Key points include:
- Tools needed for disassembly, such as a Phillips screwdriver and an antistatic wrist strap for safety.
- Detailed disassembly process of each component like the power supply, hard disk, DVD drive, RAM, CPU, and motherboard.
- Importance of sorting screws and connections during disassembly to simplify the reassembly process.
Introduction [0:00]
The video begins with an introduction to the topic, explaining the aim of the tutorial, which is to teach viewers how to disassemble a system unit properly.
Necessary Tools and Safety Precautions [0:03]
The presenter outlines the tools required for the disassembly: a Phillips screwdriver and an antistatic wrist strap. He emphasizes the importance of safety, suggesting techniques to avoid static discharge, such as frequently touching the system unit while working.
Removing the System Case Cover [0:41]
The first step involves removing the system case cover. The presenter demonstrates how to unscrew and slide off the cover while highlighting the necessity of ensuring that no electrical wires are connected during this process. He stresses the importance of sorting screws for easy reassembly.
Disconnecting the Power Supply [1:37]
Next, the tutorial focuses on the power supply. The presenter identifies the ATX 24 pin and other power cables connected to various drives. He shows the removal of SATA cables connected to both the CD/DVD drive and the motherboard, along with the disconnection of power supply cables to the hard disk.
Sorting and Removing Components [3:29]
As components are removed, the presenter organizes screws and parts systematically. He highlights the need for meticulous sorting as he detaches the power supply, hard disk, and DVD drive, taking care to store screws for future use.
Removing RAM and CPU Components [8:49]
The disassembly progresses to the RAM, where the presenter shows how to press the clips to release it. He then moves on to the CPU fan and heat sink, detailing how to detach these components safely and noting the CPU's positioning after removal.
Disassembling the Motherboard [11:08]
The final steps involve removing the motherboard. The presenter describes how to disassemble connections for the front panel switch, USB, and audio before unscrewing the motherboard itself. He emphasizes the importance of keeping track of these connections to avoid confusion during reassembly.
Conclusion [14:09]
The video concludes with a recap of the disassembly process, and the presenter encourages viewers to like and subscribe for more tutorials. He invites questions in the comments section for any clarifications needed.


![The 3rd Word - The Words - Risale-i Nur Collection [AUDIOBOOK]](https://wm-img.halpindev.com/p-briefread_c-10_b-10/urlb/aHR0cDovL2ltZy55b3V0dWJlLmNvbS92aS96OGY4ZWkwVHR2RS9ocWRlZmF1bHQuanBn.jpg)