TLDR;
This video provides a comprehensive guide to taking and utilizing screenshots on iPhones, beyond the basic method of saving them to the Photos app. It covers various customization options, alternative capture methods like Back Tap and Siri, and ways to bypass the floating thumbnail for quicker actions. The video also explains how to save screenshots directly to the clipboard or as files, drag them into apps, crop and markup before saving, grab text from images, capture full web pages, and even create PDFs from multiple screenshots. Finally, it introduces using shortcuts for one-step screenshot saving.
- Customize screenshot saving options for efficiency.
- Use alternative methods like Back Tap or Siri for capturing screenshots.
- Enhance screenshots with cropping, markup, and text extraction.
- Create custom shortcuts for streamlined screenshot management.
Intro [0:00]
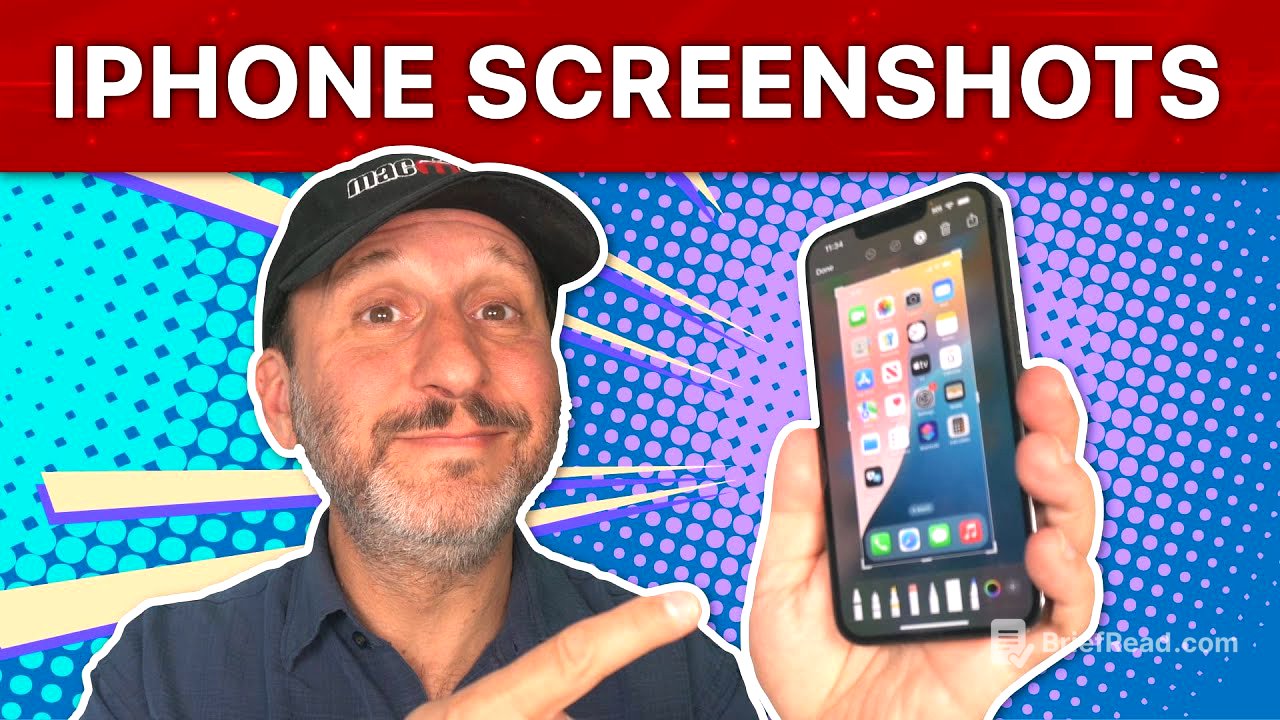
The video introduces various tips and tricks for taking screenshots on iPhones, going beyond the standard method of saving them directly to the Photos app. It mentions the basic way to capture a screenshot, which involves pressing the side button and volume up button simultaneously on most modern iPhones. The screenshot then appears in the lower-left corner and, if not interacted with, saves to the Photos app after a few seconds. The video teases more advanced functionalities available when interacting with the screenshot thumbnail.
Skip the Photos App [0:29]
After taking a screenshot, tapping the floating thumbnail opens an interface with various controls. Instead of automatically saving to the Photos app, you can tap the Share button in the upper right corner to share the screenshot through different methods. These include sending it via messages or mail, or saving it to a note, providing more immediate options for using the screenshot.
Customize How You Can Save [1:01]
The share sheet can be customized by scrolling to the right and tapping the "More" button. This allows you to edit which apps and actions are displayed. You can add favorite apps to the list and reorder them for quicker access. Additionally, you can add custom actions, often created in the Shortcuts app, to further tailor the sharing options.
Skip the Floating Thumbnail [1:33]
To bypass the thumbnail and editing interface, take a screenshot and tap and hold the floating thumbnail for two seconds. Releasing it will directly open the Share sheet, skipping the intermediate step. If you want to access the editing controls, tap the "x" to revert to the floating thumbnail, and a quick tap will bring you to the full interface.
Take Screenshots With a Back Tap [2:14]
You can enable the Back Tap feature to take screenshots by tapping the back of your iPhone. This is set up in Settings under Accessibility, then Touch, and finally Back Tap. You can assign either a Double Tap or Triple Tap to trigger a screenshot. Once set, lightly tapping the back of the iPhone will capture a screenshot.
Add a Screenshot Button [2:47]
Assistive Touch can be enabled in Settings under Accessibility, then Touch. Turning it on adds a persistent button on the screen. By customizing the Single-Tap action to "Screenshot," tapping the button will take a screenshot without including the button itself in the capture. The button's action can also be set to a double tap or long press. The Assistive Touch menu can be customized to include a screenshot button among other functions.
Take a Screenshot By Asking Siri [3:53]
You can use Siri to take a screenshot by simply asking "Siri, take a screenshot."
Save a Screenshot To the Clipboard [4:03]
To avoid saving screenshots to the Photos Library, tap the Share button and select "Copy" to copy the screenshot to the clipboard. Then, delete the screenshot. You can then paste the screenshot into another app, such as Mail.
Save a Screenshot As a File [4:39]
To save a screenshot directly as a file, tap the Share button and select "Save to Files." This opens the file path interface, allowing you to navigate to a specific folder. After saving, you can delete the screenshot from the thumbnail view.
Save And Exit Quicker [5:14]
Tapping the "Done" button after taking a screenshot provides several options: "Save to Photos," "Save to Files," "Save to Note," "Copy and Delete," or just "Delete Screenshot." Choosing "Copy and Delete" quickly removes the screenshot while making it available to paste into another app.
Drag Screenshot Into an App [5:48]
Instead of tapping, tap and drag the screenshot thumbnail to share it with an app. While dragging, use another finger to open the desired app, such as Notes or Files, and drop the screenshot directly into it. This bypasses the share sheet and saves the screenshot to the selected app without saving it to Photos.
Crop Screenshot Before Saving [6:37]
Before saving a screenshot, you can crop it by using the handles on the sides, top, bottom, and corners of the box around it. Drag these handles to crop the image to the desired portion. You can also use two fingers to pinch in or out for cropping.
Grab Text Instead Of an Image [7:15]
Instead of saving the screenshot as an image, you can extract text from it. Tap the button at the bottom right to identify and select text within the image. This allows you to copy text from otherwise unselectable sources.
Mark Up Before Saving [7:46]
Before saving, you can markup screenshots using the pen tool in the screenshot interface. The Plus button allows you to add shapes, text, stickers, and other elements to the screenshot.
Capture Whole Web Pages [8:14]
In Safari, the screenshot interface offers "Screen" and "Full Page" options. Selecting "Full Page" captures the entire webpage, not just the visible portion. You can then save the entire page as a long image or use the Copy tool to select a specific section.
Record Screen Then Grab Frame [8:43]
For capturing content that is difficult to grab due to animations or other dynamic elements, use screen recording. Start a screen recording via the Control Center, capture the desired action, and then stop the recording. In the Photos app, pause the recording at the desired frame, tap the screen to hide the interface elements, and take a screenshot of that frame.
Screenshots To PDF [9:32]
Multiple screenshots can be combined into a single PDF file. In the Files app, select the desired screenshots, tap the Share button, and choose "Print." In the print preview, use a pinch-out gesture with two fingers to create a shareable PDF containing all the selected screenshots.
Screenshots In One Step [10:27]
To save a screenshot directly to a file in one step, use the Shortcuts app. Create a shortcut with a "Take Screenshot" action followed by a "Save File" action. Configure the "Save File" action to save to a specific folder, and optionally set a subpath using a custom date format for organization. Assign this shortcut to a Back Tap or the Action Button (on iPhone 15 Pro models) for quick, one-step screenshot saving.