TLDR;
This video provides a step-by-step guide for troubleshooting a top-load washer that is not filling with water. It covers basic checks, advanced troubleshooting methods, and isolation of potential issues with components such as the water inlet valve, pressure switch, and timer.
- Ensure water faucets are on and check for clogs in fill hoses.
- Test electrical components with a multimeter to diagnose issues.
- Follow detailed instructions for replacing faulty parts.
Initial Checks [0:09]
Wayne from Sears Parts Direct begins by discussing the basic steps in troubleshooting a top-load washer. First, confirm that the water faucets behind the washer are turned on. Next, check the water flow through the fill hoses by turning off the faucets, disconnecting the hoses, and holding them over a bucket to see if water exits. If water does not flow, inspect the hoses for clogs or check if there’s an issue with the house water supply.
Inlet Screens and Electrical Checks [0:57]
If water flows from the hoses, check the inlet screens on the water valve for clogs. These screens cannot be cleaned; if they are blocked, the water valve assembly must be replaced. While inspecting, verify that the electrical outlet is functional by plugging in a lamp. If there's no power, reset the circuit breaker, and if it still doesn't work, contact an electrician.
Testing the Rinse Cycle [1:13]
Reconnect the washer to the water supply, turn the timer to the rinse cycle, and start it. The rinse mode bypasses the temperature switch, providing a direct path to the fill valve. If the washer fills, the pressure switch and fill valve are functional. If it does not fill, the issue lies with the water inlet valve, pressure switch, timer, or a wiring fault.
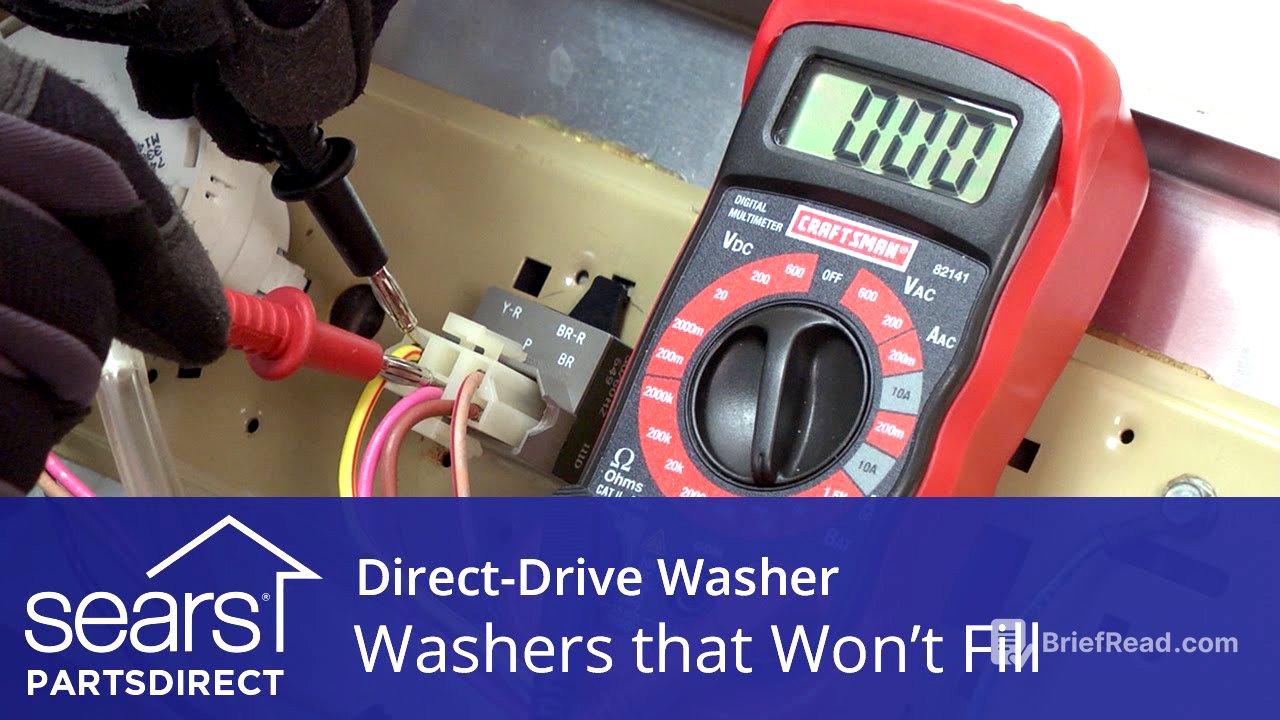
Continuity Testing [1:50]
To diagnose electrical issues, use a multimeter to check for continuity throughout the circuit. Unplug the washer and shut off the water supply before checking. Follow the detailed instructions to check resistance at various points, including the cold water valve, to determine if it is receiving voltage. If it’s not working correctly, the water inlet valve may need replacement.
Checking the Water Level Pressure Switch [3:33]
If the cold water valve is fine, check the continuity at the water level pressure switch. Measure between the power cord and the pressure switch wires. If continuity is absent, test further connections to pinpoint the issue. This process helps determine if the pressure switch needs replacement.
Timer and Wiring Checks [4:04]
If the issue isn’t resolved, inspect the timer for continuity. Measure continuity along the wires connecting the timer to the pressure switch. If there is no continuity, that wire needs repair. If continuity is present, check the harness for breaks, as any interruption can prevent the washer from functioning correctly.
Temperature Switch Testing [5:09]
If the washer filled in rinse mode, examine the temperature switch and timer. Use a multimeter to check continuity between the wires connected to the temperature switch in the Cold/Cold setting. If there is no continuity, the temperature switch needs to be replaced; otherwise, it indicates a faulty timer that prevents it from working properly.
Reassembly Instructions [5:44]
To reassemble the washer, follow the steps to secure the cabinet and control console back in place. Ensure all connections are snug and reinstall screws and clips as needed. After reassembly, check functionality to ensure the washer operates correctly once more.