TLDR;
This video provides a comprehensive walkthrough of an AI-driven workflow designed to automate the creation and posting of viral YouTube Shorts. It covers everything from generating image prompts and rendering videos to automatically publishing content on social media platforms like Instagram, TikTok, and YouTube. The workflow leverages tools like Google Sheets, OpenAI, PI API, Flux image generator, Creatmate, and Blotato to streamline the content creation process.
- Automate content creation for YouTube Shorts.
- Utilize AI for image generation and video rendering.
- Automatically post content to multiple social media platforms.
- Cost-effective system, with each video run costing under $1.
The Viral Shorts System [0:00]
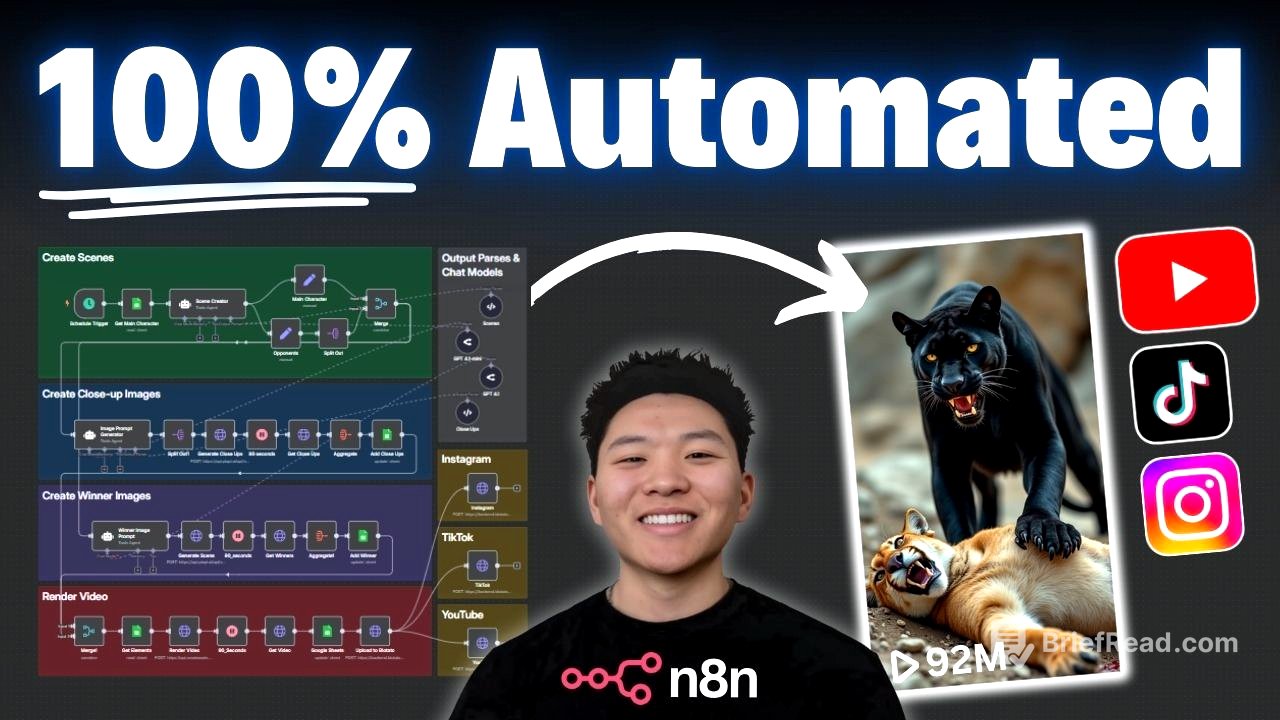
The video introduces a system inspired by a YouTube channel that gained over 680,000 subscribers and 221 million views by uploading AI-generated shorts. The presenter built a workflow to automate the entire process of creating, rendering, and posting these shorts to platforms like Instagram, TikTok, and YouTube. The inspiration channel's most viewed video, which features animal matchups, serves as a template for the automated content.
Today’s Agenda [1:42]
The presenter outlines the agenda for the video, which includes a live walkthrough of the AI-driven workflow, explaining each step involved in creating viral shorts. The presenter also shares how to obtain the workflow template for free and set it up in a personal NN environment. Finally, the video will cover the total cost associated with each run of the workflow.
Live Walkthrough [2:17]
The workflow is divided into five main blocks: creating scenes, generating close-up images, creating winner images, rendering the final video, and publishing the video to Instagram, TikTok, and YouTube. The presenter will perform a live run of the workflow using the example of "ape versus big cats" to demonstrate each step.
Creating Scenes [2:30]
The workflow begins by accessing a Google Sheet to pull in content ideas marked as "to-do." The scene creator agent then receives the main character (e.g., ape) and the opponent category (e.g., big cats) to generate eight different scenes. This agent uses a prompt to create fight scene matchups, listing eight specific opponents from the given category.
Prompting is KEY [3:42]
The presenter emphasizes the importance of prompts as the "secret sauce" for creating engaging AI-generated content. While the template includes starter prompts, customizing these prompts is highly recommended to tailor the content to specific preferences. The presenter also shares an example of another short workflow that merges different animals together, demonstrating the versatility of the workflow with different prompts.
Splitting Out Scenes [4:26]
The eight scenes generated by the scene creator are split out for individual processing. This involves branching off the main character and setting the opponents to create a list of eight opponents. This split is necessary to send individual requests for AI-generated images, ensuring each opponent's picture is generated separately.
Creating Close-up Images [5:16]
The workflow feeds the main character and opponent data into an image prompt generator to create close-up images. The system prompt instructs the AI agent to generate high-quality text-to-image prompts for photorealistic image generation, optimized for cinematic AI-generated images. The structured output parser ensures that each item outputs two fields: the main character close-up and the opponent close-up.
Creating Winner Images [11:57]
The process involves prompting an AI agent with two different animals to generate image prompts depicting the aftermath of a fight, deciding which animal is the winner based on their strengths. The system prompt guides the AI to create vivid prompts for photorealistic images, with guidelines to ensure realistic outcomes. The generated scenes are then processed using the same steps as the close-up images, with a modification to the aspect ratio.
Rendering Video [14:35]
The workflow merges all items together, waiting for both the close-up and winner images to finish processing. It then retrieves all 24 completed images from Google Sheets using a filter to match the main character. The images are rendered together using an API called Cremate, utilizing a pre-made template that splits the screen and displays text.
Automatically Posting to Socials [19:45]
The final video is sent back to Google Sheets, updating the status to "created" and including the final video URL. The video is then automatically posted to Instagram, TikTok, and YouTube using a service called Blotato. This involves uploading the video to Blotato and then pushing it to the desired platforms with specific parameters for each platform.
Automation Mindset [23:48]
The presenter encourages viewers to adopt an automation mindset, where they identify tasks and processes that can be automated using APIs, tools, and data manipulation techniques. The provided template serves as a foundation for building and improving upon automated workflows.
Final Output Thoughts [24:25]
The presenter acknowledges potential inconsistencies between the close-up and fighting images due to the image generator lacking context. They suggest optimizing the workflow by creating a story where each scene builds upon the previous one to maintain consistency. The presenter also highlights opportunities to optimize the system further, such as running images in parallel and adding custom sound effects.
Workflow Cost Breakdown [26:16]
The video breaks down the cost per video for the automated system. Image prompt generation costs approximately $0.01 per run. Image generation using Flux through PI API costs $0.015 per image, totaling $0.36 for 24 images. Video rendering using Creatmate costs about $0.35 per render. Publishing and scheduling via Blotato is an optional cost at $29 per month for unlimited scheduling and publishing. The total cost per run is estimated to be under $1.
Plug in This Template (FREE) [28:37]
The presenter explains how to obtain the workflow template and plug it into a personal NN environment. This involves downloading the workflow from the presenter's free school community and importing it into NN. Additionally, users need to use the exact Google Sheet template provided to ensure the mappings in NN work correctly. The setup guide lists the necessary steps, including connecting API keys for Open Router, PI API, and other services.