TLDR;
This video serves as a comprehensive guide to using downriggers for fishing, particularly for trout and salmon in environments like Maine. It covers the basics of what downriggers are and why they're used, the components of a downrigger setup, and how to properly use them. The video also addresses common issues and questions related to downriggers, such as selecting the right releases and avoiding blowback.
- Downriggers allow precise depth control, unlike lead core rods.
- Key components include the downrigger unit, weight, release, and rod.
- Proper setup and techniques are crucial for effective use and minimizing issues.
Introduction to Downriggers [0:47]
The video introduces downriggers as a tool to get the fishing line down to a controlled depth, which is better than using lead core rods. Lead core rods require a lot of line to reach the desired depth, reducing sensitivity and making it harder to keep smaller fish hooked. Downriggers offer more precision in depth control. The presenter uses a Canon Unitrol 10 with an extendable boom and explains that while he uses manual downriggers, electric versions are available, some of which can integrate with fish finders for automatic depth adjustment.
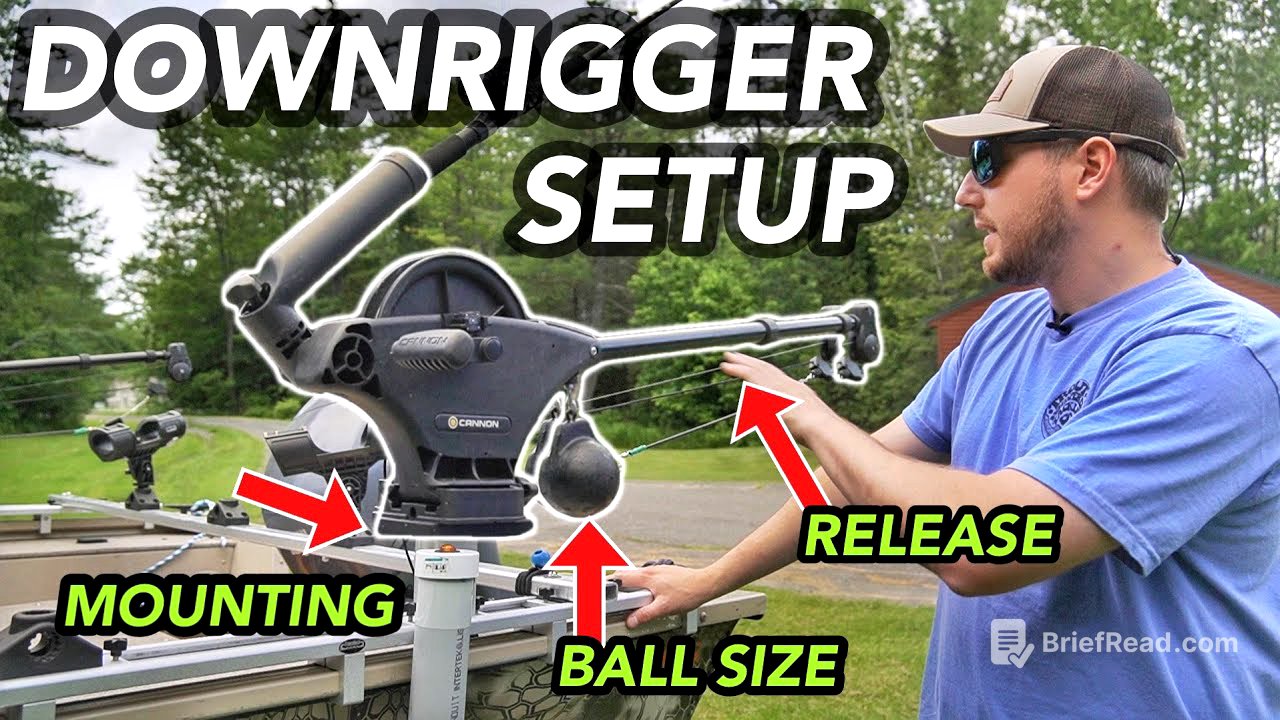
Downrigger Setup and Mounting [3:31]
The presenter discusses the components of his downrigger setup, including rod holders and a track system for easy adjustments. He uses a Full Tracks Tech system, which allows for moving the downriggers and rod tubes. The downriggers are mounted on a quick-release plate with a swivel base, allowing for easy removal and repositioning. This setup enables the downrigger to swing out to the side, preventing tangling with the boat's propeller and other rods.
Downrigger Balls and Lines [5:32]
The presenter recommends using six, eight, or ten-pound balls, with eight pounds being a good all-around size. Heavier balls are better for deeper fishing to prevent blowback, where the ball swings back due to water resistance, affecting depth accuracy. The presenter has switched from steel cable to braided Dacron line to avoid the loud humming noise produced by steel cables in the water.
Releases and Snubbers [7:12]
The presenter uses a snubber between the ball and the release to absorb shock and reduce strain on the downrigger and mount. The snubber also acts as a break point if the ball gets snagged, preventing the loss of the entire setup. He recommends Chamberlain releases, noting they are the best for the type of fishing in New England, because they allow for adjusting both the tension going out to the lure and the tension going up to the rod. This dual adjustability is crucial for ensuring releases trigger even with smaller fish.
Setting Up the Fishing Line [9:55]
To set up the fishing line, the lure is cast out a desired distance behind the ball, typically six to 100 feet. A line counter reel can be used for precise distance control. The ball is lowered into the water using the downrigger's handle, which acts as a brake. The fishing line is then attached to the release clip by creating a loop and twisting it around the clip. The bail is flipped open on the downrigger rod, and the line is controlled with a thumb while lowering the ball to the desired depth. The rod is then engaged and cranked down to create tension.
Stacker Releases and Rods [13:43]
The presenter introduces stacker releases, which allow multiple rods to be used on a single downrigger, enabling fishing at different depths simultaneously. He demonstrates how to attach a stacker release to the downrigger line and connect a second fishing line. He also discusses the types of rods suitable for downrigger fishing, recommending the Shimano Talora rod with the Dakota 500 line counter reel for optimal performance.
Mounting Position and Fish Finders [18:08]
The presenter emphasizes the importance of mounting the downriggers in a position where the balls can be seen on the fish finder. This allows anglers to monitor the depth and position of the balls, observe fish approaching the lure, and adjust their strategy accordingly.