TLDR;
This video provides a comprehensive guide on how to use a multimeter for electrical troubleshooting, installations, and repairs. It covers essential functions such as voltage testing (AC and DC), continuity testing, resistance measurement, and capacitance measurement. The video also explains how to safely measure amperage using a clamp meter and highlights common mistakes to avoid.
- Explains how to use multimeters for safe and effective electrical troubleshooting.
- Covers essential functions: voltage, continuity, resistance, capacitance, and amperage.
- Demonstrates practical applications with receptacles, batteries, switches, and appliances.
Introduction to Multimeters [0:00]
The video introduces the importance of multimeters for DIYers in troubleshooting electrical issues. It promises to explain the main functions of multimeters, share tips to avoid common mistakes, and demonstrate how these functions can make electrical work safer. The presenter will primarily focus on the Klein Tools CL440 (clamp meter) and the Klein Tools MM700 multimeters, noting that these models have been replaced by newer versions with similar functionalities. Links to these and other tools will be provided in the description.
Voltage Testing: AC [1:36]
The video explains how to test for voltage in receptacles using a multimeter. To test for AC voltage, the multimeter should be set to the "V" setting with a squiggly line (sine wave) representing alternating current. The probes are inserted into the receptacle slots to read the voltage, with a standard US receptacle expected to show around 120 volts. The demonstration shows how the voltage drops to near zero when the circuit breaker is turned off, indicating it is safe to work on the receptacle. The Klein Tools ET270, which has a plug-in outlet function, is presented as a basic alternative for voltage testing.
Voltage Testing: DC [5:53]
The video transitions to testing direct current (DC) voltage, commonly found in batteries and solar panels. The multimeter is switched to the DC voltage setting, indicated by a "V" with a straight line and dotted lines. A 9V battery is tested, showing a reading of 7.97 volts, which suggests it is nearing the end of its life. The video highlights that the Klein Tools ET270 has a specific setting for testing DC voltage.
Continuity Testing [7:11]
Continuity testing is presented as a valuable function for troubleshooting issues in switches, relays, and wiring. The continuity setting is typically indicated by a speaker-like symbol or audio waves. When the probes are touched together, the multimeter emits a noise, indicating a connection. This function is useful for identifying breaks in wires or diagnosing faulty switches. The video demonstrates how to test a light switch in both the on and off positions to determine if it is functioning correctly. A faulty switch will not show continuity when in the on position.
Resistance Measurement [11:14]
The video explains how to measure resistance using the omega (Ω) symbol on the multimeter. This function is often paired with continuity testing. The demonstration involves testing an AC contactor coil to check its resistance, which should typically read between 10 to 20 ohms for the coil to be in good condition. The data sheet of the component being tested can provide the expected resistance reading. Although the contactor in the video is faulty, the coil's resistance is within the acceptable range, showing that the coil is still functional.
Capacitance Measurement [14:05]
Capacitance measurement is highlighted as a useful function for homeowners, particularly for testing capacitors in AC units, heat pumps, and pool heaters. The capacitance setting is indicated by the symbol "NF" (nanofarads) on the multimeter. The video demonstrates how to test a motor run capacitor, which should read 80 microfarads (µF) with a tolerance of plus or minus 5%. The tested capacitor reads 62.5 µF, indicating it is bad and needs replacement. The video emphasizes that replacing a capacitor yourself can save a significant amount of money compared to hiring a professional.
Amperage Measurement [17:48]
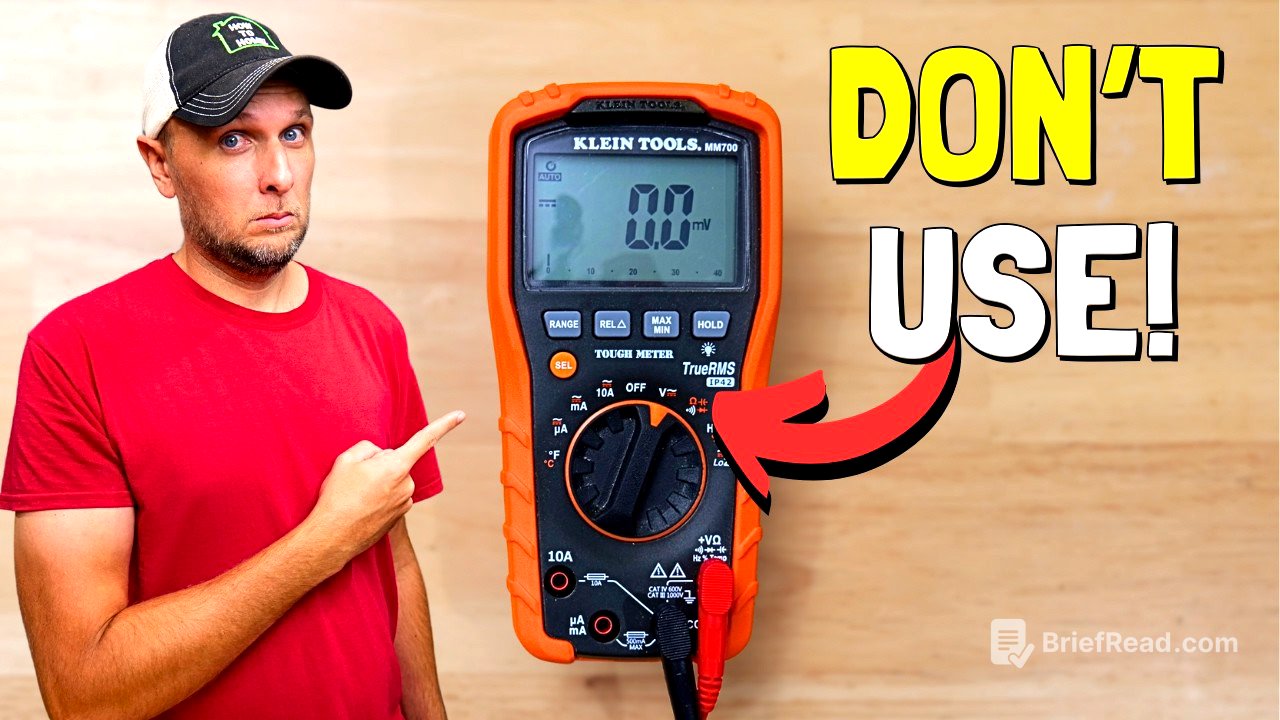
The video discusses measuring amperage, noting it is a less frequently used function but important to know. It advises against using probes on a basic multimeter for measuring amperage due to safety concerns. Instead, it recommends using a clamp meter, which is safer and more accurate. The video demonstrates how to measure the amperage of a window AC unit using a clamp meter. It explains that the clamp meter needs to be placed around a single wire (hot wire) to get an accurate reading, as the combined wires in a power cord will cancel each other out. The video also introduces a splitter that allows for easy and safe amperage testing, multiplying the reading by 10.