TLDR;
This video provides a comprehensive guide on creating high-quality, homemade proxies for Magic the Gathering, including double-sided art. It covers deck creation using Architect, exporting to proxied.com for art selection and layout customization, printing with optimal settings, and laminating and cutting techniques for a professional finish. Key points include using bleed edges for easier cutting, selecting the right paper and laminate (matte or glossy), and re-laminating after cutting to seal the edges.
- Deck creation and export from Architect.
- Art selection and layout customization on proxied.com.
- Optimal printing settings for enhanced quality.
- Laminating and cutting techniques for a professional finish.
- Importance of re-laminating after cutting to seal edges.
Deck Creation with Architect [0:11]
The initial step involves using Architect to assemble a Magic the Gathering deck. Architect allows users to select art, browse community decks, and customize their deck. Once the deck is finalized, it can be exported. The video recommends unchecking all export options except for the set code, which helps in transferring uploaded art to the next step. The deck list is then copied for use on proxied.com.
Art Selection and Customization on Proxied.com [0:37]
The video transitions to proxied.com, where users can upload custom art files and fetch card arts from Scryfall by entering card names and quantities. The site offers controls for adjusting page width, height, columns, rows, bleed, and guide settings. Bleed edge is crucial as it adds space between cards, providing leeway during cutting and ensuring uniform card sizes. Users can also disable guides or change their color for better visibility. The platform allows reordering cards via drag-and-drop, which is particularly useful for double-sided cards. Custom arts can be uploaded from NPC fill, and cards can be duplicated or deleted using the context menu.
Advanced Art Selection and Card Manipulation [4:05]
Users can select specific art for each card from Scryfall, with the platform automatically adding bleed edges and correcting border colors to ensure high-quality prints. The "get all prints" option helps find alternate arts, extended borders, and different frames. For double-sided cards, the video advises moving them to the bottom of the list for easier management. The platform also allows replacing cards by typing in the desired card name, useful for correcting errors. After selecting all card arts, the user exports the layout to a PDF file.
Printing and Paper Options [6:11]
The video emphasizes the importance of printer drivers for optimal print quality. It recommends specific print settings such as premium presentation paper mat for media, Adobe RGB for color selection, and high-quality print settings. The saturation is increased to compensate for the matte finish. The video uses an Epson printer with a rear feeder and suggests premium presentation paper mat for printing, paired with 3M Scotch thermal laminating pouches. Alternative laminate finishes like glossy are also discussed, noting their vibrant colors but more plasticky feel compared to matte finishes.
Printing Double-Sided Cards [8:59]
The process for printing the backs of the cards, including custom card backs and double-sided cards, is detailed. Custom card backs can be added from NPC fill or uploaded. For double-sided cards like Cursed Witch and Curse of Leeches, the video explains how to align the backs correctly by mirroring the card backs. The correct backside art is selected for each double-sided card, and the paper is loaded into the printer upside down and backwards. The video mentions the use of an EcoTank 8550 printer but notes that any inkjet printer can be used.
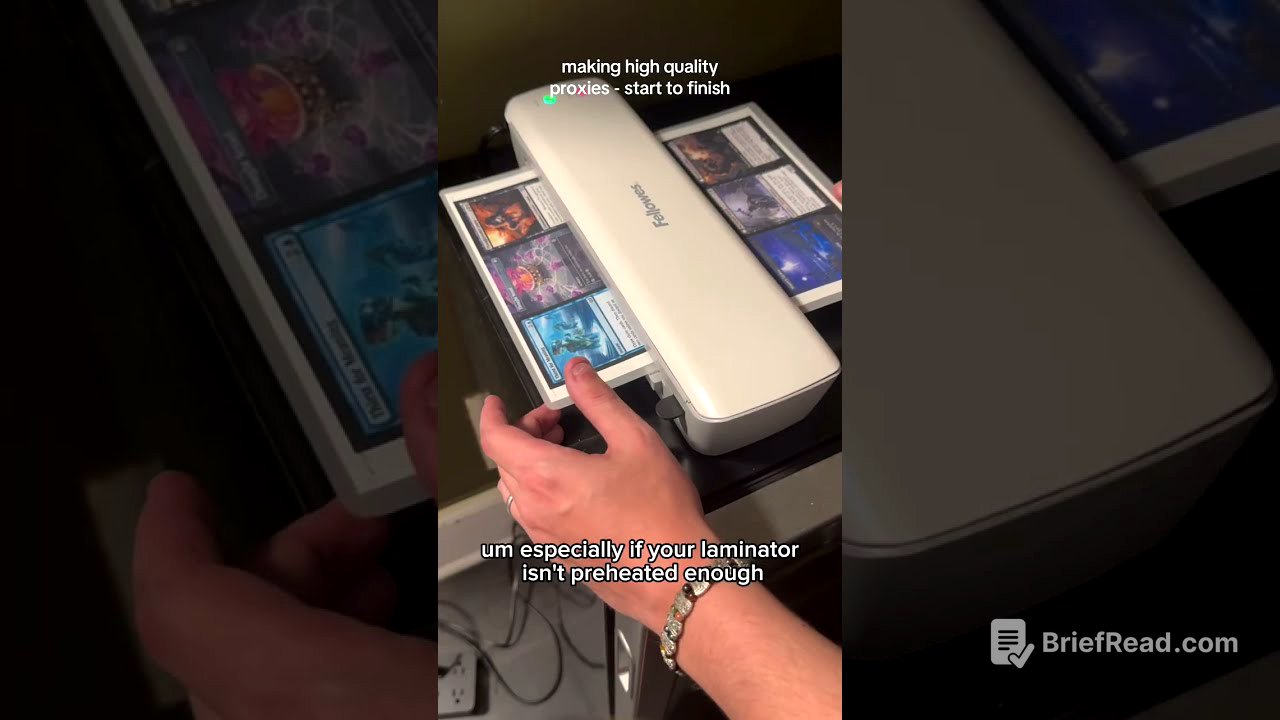
Laminating and Cutting [12:03]
The printed sheets are left to dry for 10-15 minutes to prevent warping. The video demonstrates laminating using Scotch thermal laminating pouches, emphasizing the importance of keeping the sheets dust-free. The laminating pouch is opened, the printed sheet is inserted, and the pouch is fed into the laminator with the sealed end first. After laminating, a Fiskers rotary cutter is used to trim the cards, using the bleed edges as guides. The video highlights the alignment of the front and back of the cards.
Corner Rounding and Final Lamination [16:11]
A Kabumaru Pro corner rounder is used to round the corners of the cards, providing a professional finish. The video recommends rounding each corner twice to ensure a clean edge. Finally, the cards are run through the laminator again to seal the edges, which is particularly important for matte laminates to prevent bubbling and peeling. The video concludes by encouraging viewers to check out proxied.com and provide feedback, as well as recommending Cry Cry Proxy's channel for more tips and tricks.