TLDR;
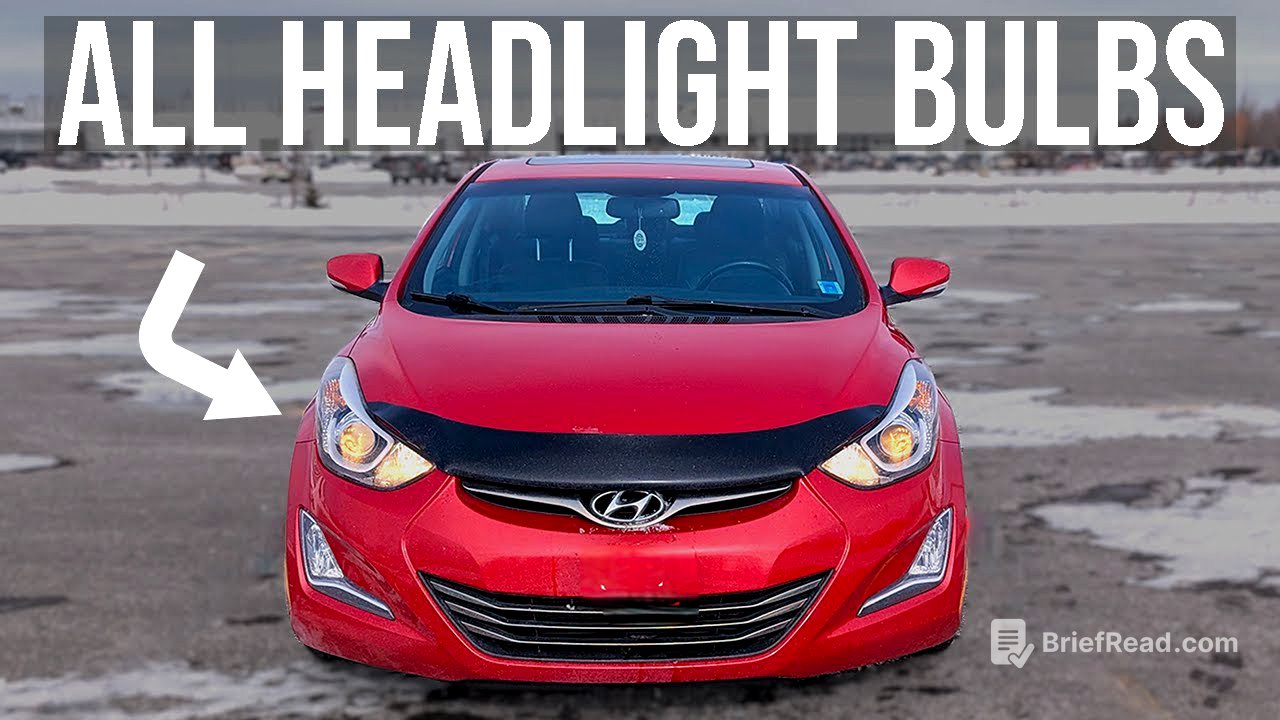
This video provides a step-by-step guide on how to replace headlight bulbs on a 2011-2016 Hyundai Elantra. It covers the necessary tools, removal of the old bulbs (both high and low beam), and installation of the new bulbs, as well as reassembling the headlight unit. Key points include safely disconnecting electrical components, understanding the clip and slot mechanism for headlight removal and installation, and avoiding touching the bulb surface to prevent damage.
- Tools needed: Phillips screwdriver, 10mm wrench, and 12mm wrench.
- Focus on replacing low beam and high beam headlight bulbs.
- Important to slide the headlight out first due to clips and slots.
Opening the Hood and Removing the Headlight [0:00]
To begin, open the driver's side door and release the primary hood release lever. Then, locate the secondary hood release lever under the Hyundai emblem at the front of the vehicle. Use the prop rod to secure the hood. Next, remove three bolts (two 10mm and one 12mm) and three plastic clips to detach the headlight unit. Disconnect the electrical connector by pressing down on it and pulling it out. The headlight is removed by sliding it out to disengage clips from slots, which may require wiggling and gently pulling the bumper for support.
Identifying and Removing the High Beam Bulb [3:05]
After removing the headlight, identify the high beam, low beam, turn signal, and nighttime bulbs. Focus on the high beam bulb first by twisting the dust cover left to remove it. Undo the metal clip to release the bulb holder with the high beam bulb. Pull the bulb out, holding the metal base and black electrical connector, being careful not to touch the bulb surface to avoid damage.
Installing the New High Beam Bulb [4:29]
Align the new bulb with the flat bottom part and push it into the electrical connector. Place the bulb holder back in its place and secure it with the metal clip. Reattach the dust cover, ensuring it sits flush, and twist it to the right to secure it.
Removing and Replacing the Low Beam Bulb [5:25]
For the low beam bulb, twist the dust cover left to remove it. Press down on the electrical connector and wiggle it out. Grab the bulb and twist it left to remove it. Insert the new replacement bulb at an angle, then twist it to secure it. Reconnect the electrical connector.
Reinstalling the Headlight [6:35]
Replace the dust cover, ensuring it sits flush, and twist it to the right. When reinstalling the headlight, align the clips on the headlight with the slots on the vehicle. This may require some maneuvering to ensure the clips slide under the slots correctly. Once aligned, push the headlight in until it is secure. Reattach the plastic clips and bolts, tightening them with the wrench. Finally, reconnect the electrical connector and test the high beam and low beam lights to ensure they are working.


