TLDR;
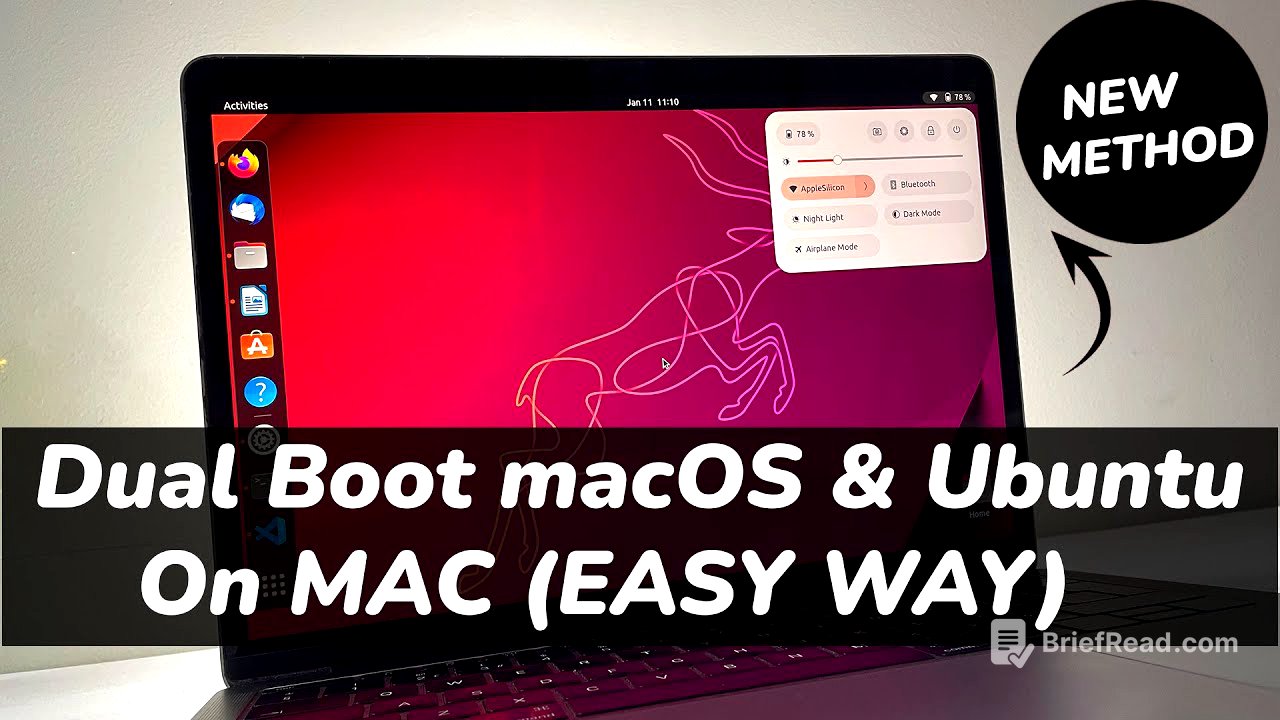
This video provides a comprehensive, step-by-step guide on how to dual-boot macOS and Ubuntu on Intel-based Macs. It covers creating free space for Ubuntu, downloading the necessary ISO file, installing Ubuntu, addressing potential performance issues like battery drain, and finally, how to delete Ubuntu if you wish to revert to macOS only.
- Guide for dual-booting macOS and Ubuntu on Intel-based Macs.
- Covers installation, performance optimization, and removal of Ubuntu.
- Addresses potential issues like driver problems and battery drain.
Introduction [0:00]
The video introduces a tutorial on dual-booting macOS and Ubuntu on Intel Macs. It specifies that the guide is for Intel Macs only, directing users with Apple Silicon Macs to another resource in the description for Linux installation on M1 or M2 Macs. The presenter highlights that Ubuntu, while functional on most Intel-based Macs, isn't officially supported by Apple, which may lead to driver-related issues like speaker, Bluetooth, and battery problems. The guide is designed for Macs without a T2 chip; those with a T2 chip need to disable a security feature in recovery mode to allow booting from external media. The presenter uses a 2017 MacBook Pro without a T2 chip for the demonstration.
Creating A Free Space For Ubuntu [2:06]
To install Ubuntu, at least 30GB of free space needs to be reserved on the Mac's drive. The presenter instructs viewers to open the terminal and use a command to list all the Mac's partitions, advising them to take a screenshot for later reference. Next, the presenter guides the user to shrink the free space for the Linux system by opening Disk Utility via Spotlight. In Disk Utility, users should select "show all devices," choose the main drive (Apple SSD), and click "partition." A "+" button is used to add a partition, where the desired amount of free space for Linux is allocated using a slider (60GB is used in the tutorial). The partition is named "Linux" and formatted as "MS-DOS (FAT)." The presenter notes that the Mac may freeze during partition creation, and users should wait for the process to complete. After successful creation, the Linux partition will be visible in the sidebar.
Download ubuntu ISO [3:56]
The next step involves downloading the Ubuntu ISO file. The presenter instructs viewers to open Safari and navigate to the Ubuntu website to download the ISO. They recommend using the LTS (Long Term Support) release, which is supported for 5 years, but also mention that users can opt for non-LTS versions like Ubuntu 22.10 for the latest Gnome desktop features. The installation process remains similar across different Ubuntu versions. While the ISO downloads, the presenter directs viewers to download and install Balena Etcher. Once installed, a USB drive with at least 8GB of free space should be connected, and Balena Etcher is used to create a bootable USB installer using the downloaded Ubuntu ISO. The presenter notes that this process may take a few minutes to complete.
Installing Ubuntu [6:00]
After creating the bootable USB, the presenter instructs the viewer to connect the power adapter and restart the Mac. During restart, the option key should be held down to enter the boot menu, where the bootable USB drive (labeled "EFI Boot" in orange) will be visible. Using the arrow keys, this drive should be highlighted and selected to boot the Ubuntu installer. The presenter then walks through the initial steps of the Ubuntu installer, including choosing the keyboard language and connecting the Mac to the internet via Wi-Fi. The "normal installation" option should be selected, along with the options to download updates and install third-party software. The presenter emphasizes choosing the "something else" option for installation type to manually create partitions for Ubuntu, warning against the option to erase macOS.
The presenter guides the user through the partition page, emphasizing the need for caution. The "Fat 32" partition with the created free space should be identified (64GB in the example). The free space is then selected and made unallocated. Two partitions are created: a 1000MB EFI partition for the Ubuntu boot loader and a root partition using the remaining free space. The presenter notes the existing EFI partition related to macOS should not be touched. The newly created EFI partition is selected, and the installer is directed to install GRUB on it. After clicking "install," the changes to the disk are accepted, and the user is prompted to choose their country and create a user account. The installation process then begins, which the presenter notes will take a few minutes.
Performance [10:57]
The presenter shares their positive experience with Ubuntu on Mac, noting a significant performance boost, especially for older Macs struggling with macOS. Most apps tested worked without issues. The presenter mentions facing problems with sound and battery drain, and suggests that any issues can be resolved through online searches on Google or Stack Overflow.
Fix Battery Draining [11:34]
To address battery draining or overheating issues, the presenter provides a solution involving installing and configuring Auto CPU frequency scaling. The presenter instructs the user to copy and paste a line of code into the terminal to install the tool, then change the directory to Auto CPU and execute a script to set up Auto CPU frequency on Ubuntu. This tool monitors battery state, CPU usage, and temperatures to improve battery life. The presenter provides commands to check the status and view real-time statistics of system resources. The presenter notes the inability to fix speaker issues and asks for solutions in the comments.
Delete Ubuntu [13:40]
As a bonus, the presenter demonstrates how to delete Ubuntu and revert to macOS only. The process begins by booting back into macOS and opening the Terminal. The command diskutil list is used to identify the Ubuntu partitions (partitions 3 and 4 in the example), comparing them with the screenshot taken during installation. The Ubuntu EFI partition is located (disk0s3 in the example), and the command sudo diskutil eraseVolume JHFS+ empty /dev/{partition identifier} is used to erase it. In Disk Utility, "Show All Devices" is selected, and the Apple SSD is chosen. The two Ubuntu partitions are selected and erased. The presenter warns against touching the recovery partition. The Ubuntu partitions are then deleted, adding the free space back to macOS. Finally, the Startup Disk settings are opened to change the boot order, selecting macOS to boot automatically.


