TLDR;
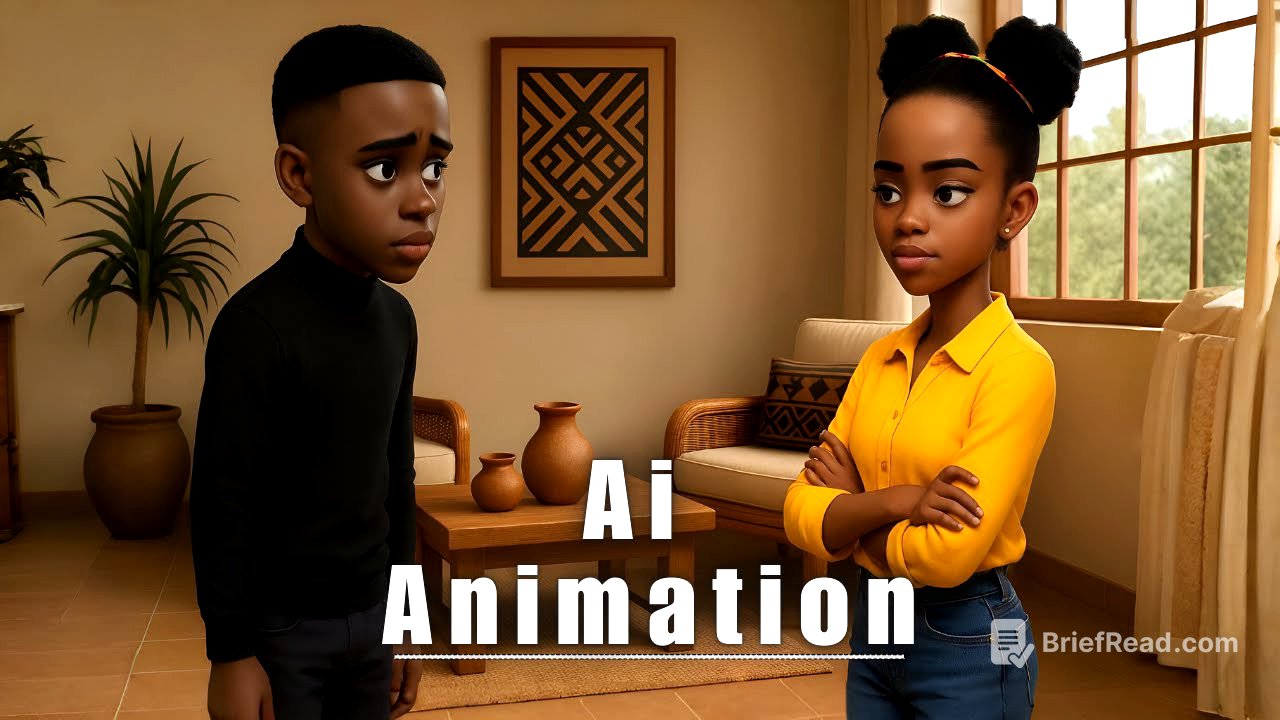
This video provides a comprehensive guide on creating 3D animated conversational videos using AI tools for faceless YouTube channels. It covers writing a script with emotional dialogue, designing characters using Open Art AI, generating key scene images, recording and assigning voices using 11 Labs, animating character motions, lip-syncing characters with their audio, and editing the scenes in CapCut. The tutorial emphasizes creating realistic and engaging content without requiring animation skills or a studio setup.
- Writing conversational story using ChatGPT
- Designing characters and generating scenes using Open Art AI
- Animating character motions and lip-syncing using Dreamface AI
- Editing and arranging scenes in CupCat
Introduction [0:00]
The video introduces a method for creating eye-catching 3D animated conversational videos for faceless YouTube channels using AI tools. The creator promises to show how to produce realistic dialogue scenes suitable for storytelling, drama, or vlogs without needing animation skills or a studio. The video will guide viewers through seven easy steps to create a successful video.
Step 1: Writing a Simple Conversational Story [0:56]
The first step involves writing a short story or scenario with clear back-and-forth dialogue. The video suggests using ChatGPT to help write a realistic conversation between two or more characters, focusing on natural, emotional, and easy-to-follow lines. The video creator used ChatGPT to generate a story idea about a brother and sister who haven't spoken in two years due to a dispute over their late father's will, and are now meeting to pack up their childhood home. ChatGPT also provided character names, dialogue, and simple descriptions for generating images using Open AI.
Step 2: Design Characters [2:24]
The second step focuses on designing characters using Open Art AI. While Open Art AI is a paid tool, it is presented as an affordable alternative to hiring animators or learning complex 3D software. The video advises being specific but simple when generating characters, including details like age, clothing, mood, and facial expression to ensure consistency across shots. Distinct character designs help the audience follow the conversation. The tutorial demonstrates how to input character descriptions and styles into Open Art AI to generate and select character images.
Step 3: Generate Key Scenes Images [3:55]
Step three involves generating key scene images using Open Art AI. The video advises creating full scene images showing characters interacting, posed in different angles, reacting, or showing emotion. The video emphasizes that almost 90% of the images should be generated on a green background to simplify the subsequent steps. The tutorial explains how to add multiple characters to a scene in Open Art AI, input prompts describing the scene, and generate images. It also covers generating images of single characters and downloading the images. The video creator also shows how to use Canva to isolate characters on a green screen background.
Step 4: Record and Assign Voices [6:47]
The fourth step details recording and assigning voices using 11 Labs. The video suggests recording the dialogue script and uploading it to 11 Labs, assigning unique voices to each character, and adjusting tones and emotions to bring the characters to life. The tutorial demonstrates how to use 11 Labs' text-to-speech feature and voice changer. The video creator recommends recording the dialogue script with your own voice and using 11 Labs' voice changer to add a personal touch and human emotions to the characters.
Step 5: Animating Character Motions [8:36]
Step five focuses on animating character motions to match the dialogue scene. The video advises using subtle gestures like nodding, turning, and facial expressions to show emotions and make the conversation more dynamic and visually engaging. The tutorial demonstrates how to upload character images to Open Art AI's video creation tool, input prompts describing the character's actions and tone, and generate short video clips. It also covers using negative prompts to avoid common AI-generated image issues.
Step 6: Lip-Syncing Characters with Audio [10:34]
The sixth step explains how to lip-sync the characters with their audio. The video emphasizes the importance of having one character listen while the other speaks. The tutorial demonstrates how to use Premiere Pro to create silent gaps in the audio files for the listening character. The video creator uses Dreamface AI to lip sync characters. The video creator also shows how to extract a still frame from the end of the talking character's video and generate a new video of the character listening.
Step 7: Editing and Arranging the Scenes in CapCut [15:23]
The final step involves editing and arranging the scenes in CapCut. The video demonstrates how to upload the video files and background image to CapCut, remove the green backgrounds using the chroma key feature, and align the video clips to create a seamless conversation. The video creator also shows how to generate additional scenes, such as characters hugging, by exporting a still frame from CapCut, uploading it to Open Art AI, and generating a video of the characters performing the desired action.

![[제40회 골든디스크] 아티스트 대상 - JENNIE (제니)](https://wm-img.halpindev.com/p-briefread_c-10_b-10/urlb/aHR0cDovL2ltZy55b3V0dWJlLmNvbS92aS9neTl5VlVQaF9GVS9ocWRlZmF1bHQuanBn.jpg)


