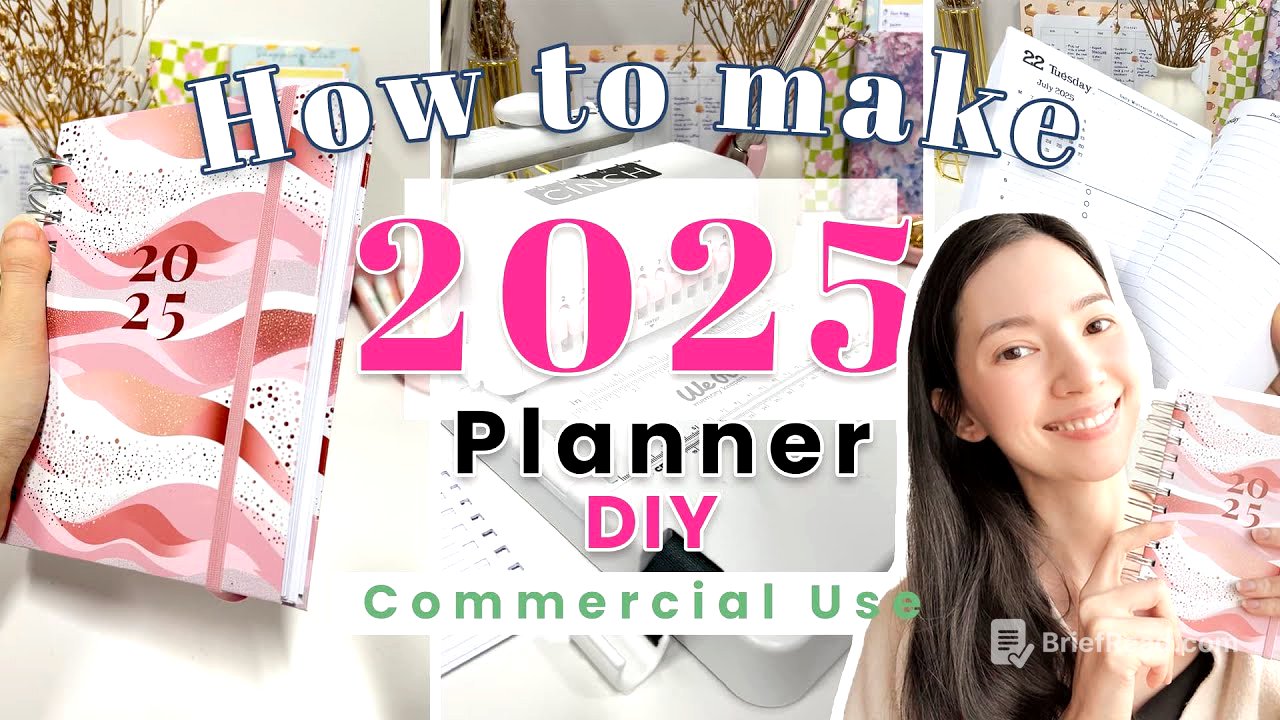
TLDR;
This tutorial provides a step-by-step guide on creating a dated daily planner for 2025 using Planify Pro. It covers setting up the planner, duplicating layouts for the entire year, exporting and rearranging pages, creating a cover page, printing and assembling the planner, binding it, and adding an optional elastic closure.
- Setting up the planner in Planify Pro with the correct sizing and initial page configurations.
- Duplicating the daily layout for the entire year and customizing the planner with different fonts, styles, and widgets.
- Exporting the planner as a PDF, printing the inserts and cover page, and assembling the planner by cutting, combining, and binding the pages.
Intro [0:00]
The video introduces a tutorial on creating a dated daily planner for 2025. The planner features daily pages for the entire year, date flags, and a calendar. The tutorial will cover how to create this planner on Planify Pro, automatically duplicate it for the entire year, print it out, assemble it, and bind it to create a finished product.
Set up planner in Planify Pro [0:40]
To start, log in to Planify Pro using Firefox in a private mode window on a computer for optimal performance. Create a new planner and select the paper size; in this case, personal white size (6.75 x 4.75 inches or 17 cm x 12 cm) is used, but other sizes like A5 or half letter can also be chosen. Ensure the first page is empty by removing any patterns or widgets. Add a second page, which will be the starting point of the planner (January 1st).
Duplicate layout for year [5:00]
Apply a pre-made daily dated template from the template starter section, specifically the first template under "starter daily dated," by clicking on "skeleton" to maintain the personal white sizing. Customize the font in the text menu (H2) and adjust the widget style in the style menu, such as using the classic two style for a simple black line. The colors of the widgets can also be modified. Copy the left side of the page to the right side using the "left to right" button. Correct the dates by turning off "edit layout," then double-clicking the date flag and calendar to set the correct date (January 1st, 2025). Further customization can include changing icons in the to-do list, modifying header names, and adjusting the size of columns and rows in "edit layouts."
Export PDF and rearrange pages [7:20]
To duplicate the layout for the entire year, click the button with three dots at the bottom and duplicate the page another 180 times to create approximately 360 pages (two days per page). Set the duplication speed (e.g., 0.8 seconds) based on the complexity of the planner. After duplicating, manually duplicate any remaining days to complete the year. Once the planner is complete (around 184 pages), save and export it as a PDF, selecting the appropriate paper size (e.g., A4) and ensuring "select rearrange the pages" is checked. Download the generated PDF file.
Create cover page [8:10]
To create a cover, return to Planify Pro and create a new planner with the personal white size selected. Remove any widgets using the edit layout option. Under pattern, choose a desired pattern and set it to full display. Enter sticker mode to freely move elements around. Add a text widget for the year (e.g., "2025"), customize the font and color, and position it in the middle of the cover. Save and export the cover as a PDF in personal white size.
Print inserts and cover page [10:00]
Print the exported PDF file containing the daily planner inserts. Ensure custom scale is set to 100% to maintain the personal white size. Print the planner front and back; if using a duplex printer, select the option to print on both sides and flip on the short edge. If not, print all odd pages first, then flip and reinsert the pages to print all even pages on the back side. Print the cover pages on white glossy sticker paper, setting the custom size to around 120% to make it slightly bigger for wrapping around the cover.
Cut and assemble planner [10:30]
After printing, cut out all the inserts using a heavy-duty paper cutter. Combine the left and right sides of the pages, ensuring they align from January to December. Punch holes in the sheets using a binding machine, ensuring the holes are correctly positioned.
Bind planner [12:10]
Print the cover design on white glossy sticker paper. Cut chipboards down to the personal white size, making them slightly bigger than the inserts. Cut down the corners and fold in all the sides. Add white sticker paper to the inside of the cover and hole punch it. Take O wires and clip down as many rows as needed. Insert all the inserts, then add the cover and back cover, and cinch it all together using the binding machine.
Add elastic closure (optional) [14:20]
Optionally, add an elastic closure to the bound planner. Once this step is complete, the planner is finished.