TLDR;
This video demonstrates how to disassemble and clean a Dyson DC39 vacuum cleaner to restore its suction power and address a specific issue with a valve or flap that was causing it to lose power. The process involves cleaning filters, hoses, and the motor assembly. While the cleaning process made the vacuum quieter and resolved the valve issue, the improvement in suction power was not drastic.
- Cleaning the vacuum cleaner can improve its performance.
- Disassembling and cleaning the motor assembly can be done with basic tools.
- Regular maintenance, such as cleaning filters, is important for maintaining vacuum cleaner performance.
Intro [0:04]
The video introduces a Dyson DC39 vacuum cleaner that has lost its power over time, despite regular cleaning of filters and hoses. Additionally, a valve or flap inside the vacuum is causing it to lose suction after a few seconds of use. The video aims to show how to disassemble and clean the vacuum cleaner to address these issues, emphasizing that the presenter is not an expert and that the process is straightforward.
Cleaning Filters and Hoses [1:07]
The presenter briefly mentions cleaning the hoses and filters, which is considered self-explanatory. The process involves removing the components and cleaning them thoroughly. The video highlights cleaning the filter with tap water once a month, as indicated on the filter itself.
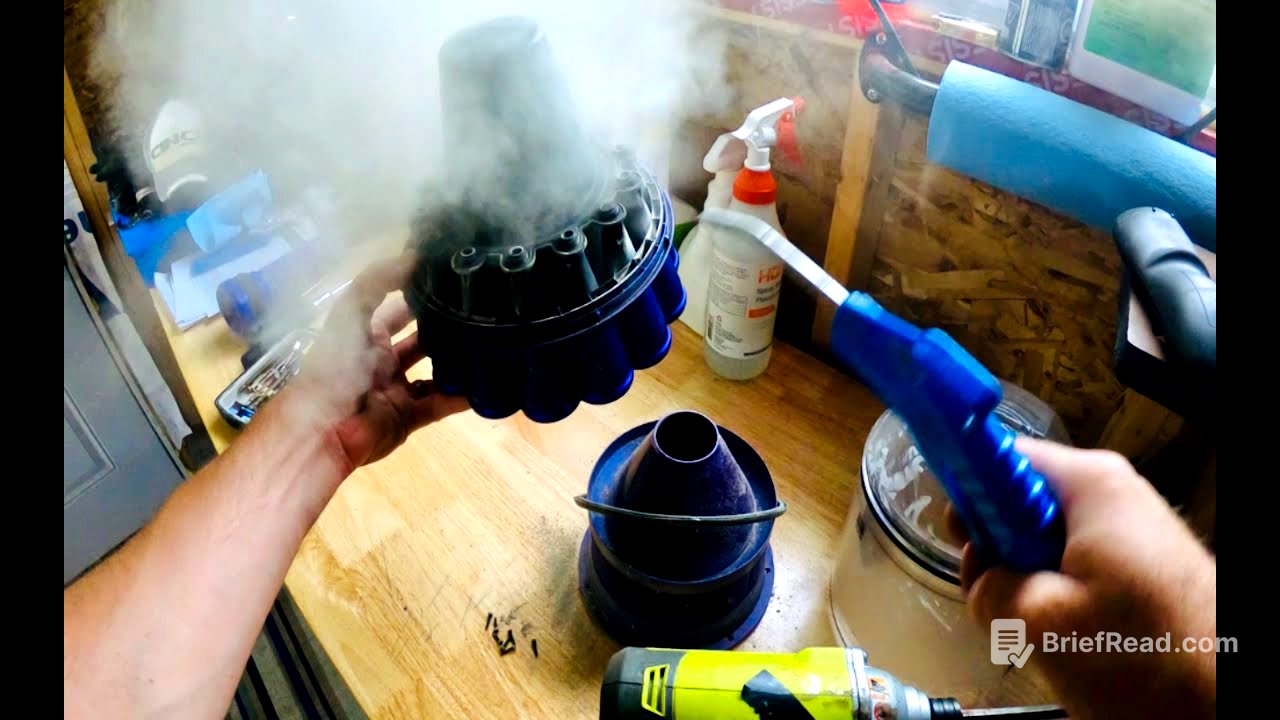
Disassembling and Cleaning the Cyclone Assembly [1:48]
The video demonstrates how to disassemble and clean the cyclone assembly. This involves removing the bin and then using a small gray button to detach the cyclone unit. Seven T8 torx screws are removed to take apart the assembly and clean the internal components. The presenter cleans the parts and reassembles the unit, noting the importance of aligning a notch on the gasket with a hump on the assembly. Screws are temporarily used to hold the gasket in place while reassembling the front part.
Disassembling the Main Body [4:41]
The presenter begins disassembling the main body of the vacuum cleaner. This involves removing the wheel assembly using T15 torx screws. The screws for the side wheels have machine threads and should be kept separate from the plastic ones. Eight screws are removed using a T15 torx bit, and two more silver T15 screws are removed from the opposite side.
Cleaning the Motor Assembly [6:59]
After splitting the vacuum body, the presenter focuses on cleaning the motor assembly, which is identified as the dirtiest part and crucial for suction power. The exhaust filter is removed. The motor assembly is detached by releasing three tabs. The presenter blows out the assembly with compressed air, ensuring the airline nozzle reaches inside to clean the fan blades.
Reassembling the Vacuum Cleaner [9:27]
The video explains how to reassemble the vacuum cleaner, starting with the motor assembly. The pins on the assembly need to align with the holes inside the vacuum body. The three rubber stoppers on the cover should align with the holes inside. The two silver screws are used to secure the reassembled halves. The pin needs to drop into the hole, and the four screws are reinstalled.
Testing and Final Thoughts [11:32]
The vacuum cleaner is fully reassembled and tested. The presenter notes that the vacuum is quieter than before, and the valve issue has been resolved. However, the improvement in suction power is not significant. The presenter encourages viewers to leave a comment or like the video if it was helpful.