TLDR;
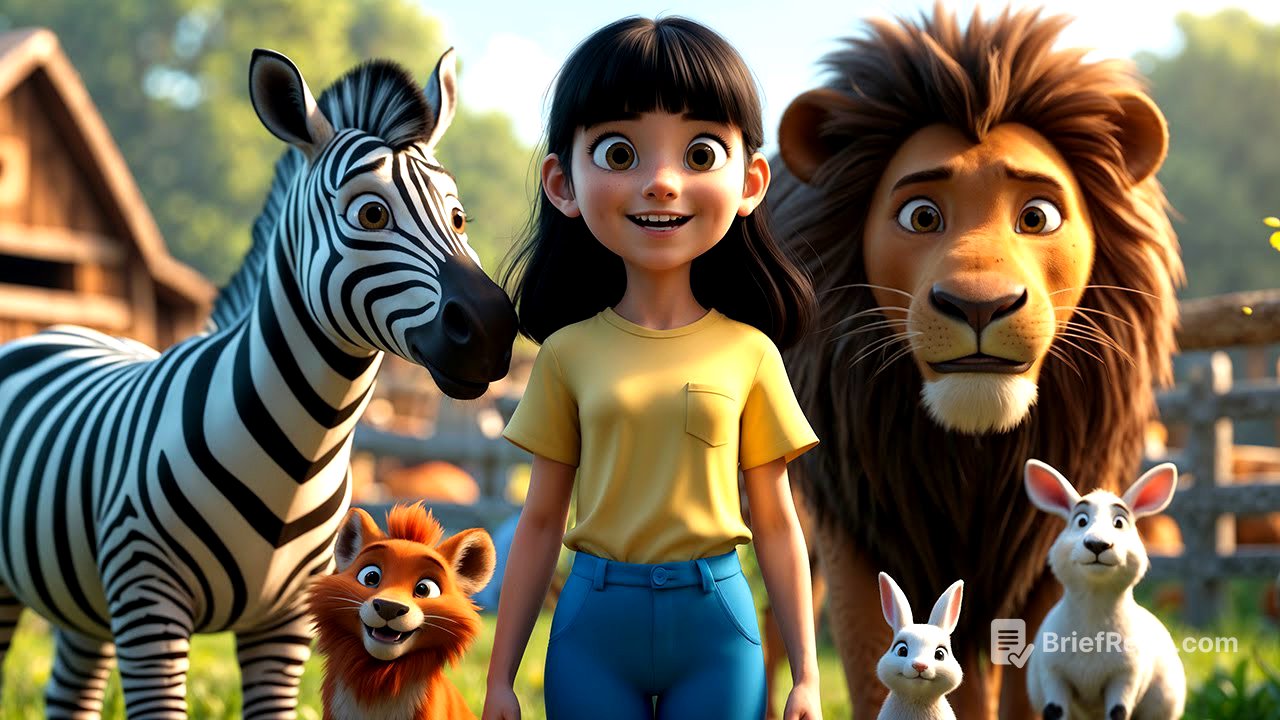
This tutorial provides a step-by-step guide on creating animations in the style of Pixar and Disney using AI tools. It covers writing a story with customizable templates, generating images with Leonardo AI, converting images to videos with Kling AI, using 11 Labs AI for voice narration, and editing the final video in Adobe Premiere Pro. The process enables users to produce high-quality animations without needing extensive technical skills or expensive software.
- Writing impactful story using customizable template.
- Generating images with Leonardo AI and maintaining character consistency.
- Converting images into videos using Kling AI.
- Adding AI-generated voice narration using 11 Labs AI.
- Editing and combining all elements in Adobe Premiere Pro.
Introduction [0:00]
The video introduces a tutorial on creating animations in the style of Pixar and Disney using AI tools. It highlights that creating such animations no longer requires expensive hardware or expertise in complex software like 3ds Max, Maya, Cinema 4D, or Blender. AI-powered image and video generators allow users to create incredible videos and animations without technical skills, supporting various animation styles like 2D, 3D, photorealistic, cartoon, anime, and comic styles. The tutorial will guide viewers on crafting effective text prompts for characters, actions, backgrounds, and animation styles, utilizing AI tools like Leonardo, Kling, and 11 Labs to transform ideas into stunning images, videos, and animations.
Writing an Impactful Story [1:53]
The initial step in creating an animation involves writing a compelling story. A customizable template is provided, which includes all necessary elements for story creation. This template can be found in the video description on the Iman Global YouTube channel. Users can copy and customize the template based on their preferences and use AI tools like Chat GPT, Gemini, or Claude to generate a story based on the template's rules. The template is divided into two sections: the first section requires defining the story's theme and the appearance of the main character, specifying details like age, clothes, hairstyle, and shoes. This ensures consistency in image generation, as AI tools process each prompt separately, and consistent character details are necessary for maintaining uniformity across images. The second section prompts Chat GPT to provide a story based on the inputs, including prompts for image creation and narration text.
Generating Images with Leonardo AI [3:31]
After creating the story, the next step involves using an image-generating AI, such as Leonardo AI, to create the visuals. Leonardo AI is chosen for its sufficient free credits and high-quality image generation capabilities. Users visit the Leonardo AI website, create a free account, and log in. In the Leonardo dashboard, they select the image creation option and paste the first image prompt copied from Chat GPT into the prompt box. The Phoenix 1.0 model is selected from the preset dropdown, prompt enhance is turned off, and the Dynamic preset style is chosen. The generation mode is set to fast, and the image dimensions are set to a 16:9 ratio for a horizontal long format suitable for YouTube. After adjusting the settings, the images are generated, and users can review and download the ones they like.
Maintaining Character Consistency [5:47]
To maintain character consistency across different scenes, users can copy the seed number from a generated image by clicking the three-dot icon and selecting "copy seed". This seed number is then pasted into the "use fixed seed" option in the advanced settings of Leonardo AI. This ensures that the character's form remains consistent in subsequent images. The process of copying image prompts from Chat GPT, pasting them into Leonardo AI, and generating images is repeated for each scene, ensuring that the characters remain almost identical with different backgrounds and scenarios. Leonardo AI provides 150 free tokens daily, which are replenished the next day, and paid plans are available for those needing more tokens.
Converting Images to Videos with Kling AI [7:17]
The images generated by Leonardo AI are converted into videos and animations using Kling AI. Users visit the Kling AI website and either try the trial package or sign up for an account. After logging in, they access the AI videos section and select the "image to video" tab. Here, they can upload images in JPG and PNG formats, with a maximum size of 10 MB and minimum dimensions of 300 pixels. After uploading an image, users can type ideas for animating the image in the prompt section. The standard mode is used for faster generation speed in the free plan, and the video length can be set between 5 and 10 seconds. After adjusting the settings, users click the generate button, which deducts 10 tokens from their credit. The generated video can be downloaded for free, but videos in the free account have watermarks.
Adding AI-Generated Voice Narration with 11 Labs AI [10:22]
After creating the story and converting the images into videos, the story needs to be narrated. Users can record the narration themselves or use AI-generated voices from 11 Labs AI. They visit the 11 Labs AI website, create a free account, and log in. They then copy the voiceover sections from Chat GPT and paste them into the text-to-speech section of 11 Labs AI. Users can choose a narrator's voice from the dropdown list and click the generate speech button. The narrator's audio file can then be downloaded.
Editing and Combining Elements in Adobe Premiere Pro [11:46]
The final step involves editing and combining the story animations and narrator's voice in a video editing software like Adobe Premiere Pro. Users create a new project, name it, and specify a save location. They import the animations and audio files into the project panel. A new sequence is created, defining the sequence dimensions and assigning a name. The videos are dragged and dropped onto the timeline, and the "scale to frame size" option is used to ensure the video dimensions match the sequence dimensions. The short videos are arranged sequentially on the timeline, and the narrator's audio file is added to synchronize the video with the narrator's voice. The razor tool is used to split the audio track and place the narrator's voice at the correct points. Finally, the video is exported in h264 format with full HD output size and dimensions.
