TLDR;
This video provides a straightforward guide on assembling and programming an LCD screen using an Arduino board. It covers the necessary components, wiring instructions, and basic programming steps to display text on the LCD. Key points include connecting the LCD to the Arduino with jumper cables, understanding the purpose of each connection (GND, VCC, SDA, SCL), and using the LiquidCrystal library to control the display.
- Connecting LCD screen to Arduino board
- Programming the LCD screen to display text
- Using LiquidCrystal library
Introduction to the Project [0:01]
The project involves using an Arduino board and an LCD screen with an SD card. The assembler needs to connect four jumper cables between the LCD and the Arduino. These jumper cables are female to male, and they don't have polarity, so they can be connected in any order. The important thing is to connect them to the correct pins on the LCD, which are GND (ground), VCC (positive 5V), SDA (data connector), and SCL (clock data connector).
Connecting the Jumper Cables [0:31]
The initial step involves connecting the four female-to-male jumper cables to the LCD screen. The presenter emphasises that the order of connection doesn't matter due to the absence of polarity. The key is to ensure each cable is firmly connected to the LCD's pins: GND (ground), VCC (5V positive), SDA (data connector), and SCL (clock data).
Connecting LCD to Arduino [1:57]
To connect the LCD to the Arduino, it's important to maintain the correct order. The GND cable from the LCD should be connected to the GND pin on the Arduino's power section. The VCC cable from the LCD, which provides the positive current, should be connected to the 5V pin on the Arduino's power section. The CDA (data connector) cable should be connected to the A4 port, and the CCL (clock data) cable should be connected to the A5 port on the Arduino.
Powering the Setup [5:15]
The setup is powered via a USB cable. Only four cables need to be connected for the project to work. The presenter provides the Arduino and cable, while participants need to bring their own LCD screens. If someone doesn't have an LCD screen, they can borrow one.
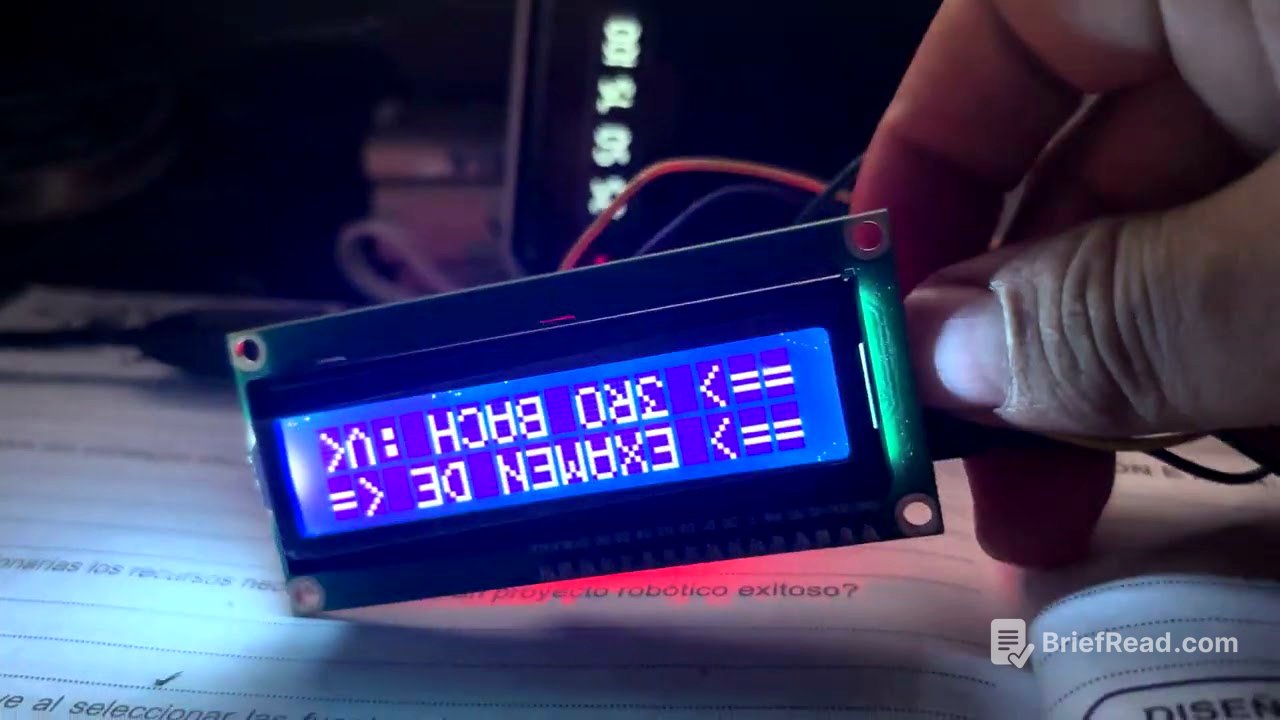
Programming the LCD [6:31]
For the programming part, the LiquidCrystal library needs to be included, which allows the LCD to function. Without this library, the LCD won't work. After including the library, specify that a 16x2 screen is being used. Instructions are then given to initiate the screen, using the back light for the flashing effect. The cursor is set to 00 for the first line and 01 for the second line. The code then prints "examen d" on the first line and "tercer bachillerato" on the second line. A delay of 200 milliseconds is set, causing the screen to flash every 2 milliseconds. This delay can be adjusted to change the flashing speed.