TLDR;
This video serves as a comprehensive guide for Panasonic GH5 users, covering optimal camera settings for video and photography, export settings for Premiere Pro, SD card recommendations, exposure techniques, lens suggestions, low light shooting tips, and colour grading tutorials for both moody and vintage aesthetics. It also includes settings for Instagram.
- Optimal GH5 settings for various shooting scenarios.
- Step-by-step guides for achieving specific visual styles.
- Practical tips for low light performance and exposure.
GH5 Intro [0:00]
The video introduces a comprehensive guide to using the Lumix GH5, drawing on three years of experience in diverse shooting environments. The creator positions the video as a one-stop resource for users to maximise their GH5's potential, with the content divided into chapters for easy navigation. Viewers are encouraged to ask questions in the comments.
GH5 Video Settings [1:00]
The creator shares their go-to GH5 settings for approximately 90% of their shoots. The system frequency is set to 24 hertz (cinema mode), the recording format to MOV, and the record quality to 4K 4:2:0 8-bit LongGOP at 100 megabytes per second. The photo style is set to "Cinelike D" with specific adjustments: contrast at -1, sharpness at -5, noise reduction at 0, saturation at -1, and hue at 0. The exposure mode is set to manual, and the variable frame rate is set to 60 frames per second. The shutter speed/gain operation is set to angle, maintaining a shutter angle of 180 degrees, which automatically doubles the frame rate.
GH5 Export Settings [2:04]
The video demonstrates how to export GH5 footage in Premiere Pro. After importing a 4K clip shot at 24 or 60 frames per second, in and out points are selected to define the section for export. The video is dragged into a new sequence to match the video's settings. The export settings are configured with a width and height that match the 4K source, a frame rate of 24fps, progressive field order, and square pixel aspect ratio. "Render at Maximum Depth" is selected for optimal quality. The profile is set to "High," and VBR 2 pass encoding is used with a target bitrate of 50 Mbps. The creator also shows how to save these settings as a preset for future use.
GH5 Photography Settings [4:49]
The creator details their preferred photography settings on the GH5. Auto review is enabled for two seconds, and constant preview is turned on to see real-time image adjustments. The aspect ratio is set to 4:3 to maximise sensor use, and the picture size is set to large (20M). The camera is set to record in both RAW and JPEG formats, with RAW recommended for editing. The photo style is set to "Cinelike D" with contrast at -1, sharpness at -5, and saturation at -1. The colour space is set to sRGB, and the metering mode is set to the top option. Dynamic range is set to low, long shutter noise reduction is off, shading and diffraction compensation are off, burst rate is set to high, and the shutter type is set to manual.
Best GH5 SD Card [7:15]
The video recommends the SanDisk Extreme 150 MB/s Class 10 SD cards for the Lumix GH5, citing them as the best value for money. The creator uses the 64GB version to encourage frequent footage offloading. These cards are noted for their reliable performance in 4K 60fps shooting. The creator mentions that they have not encountered issues even when shooting in 10-bit.
GH5 Exposure Settings [8:30]
The video highlights two key tools built into the GH5 for ensuring proper exposure: zebra stripes and histogram. ISO increments are set to one-third stops for finer control. Zebra stripes are configured to show when areas are over 100% exposed, indicating potential loss of detail. The histogram is turned on to visually represent the exposure range, aiming for an even distribution of data between 0 and 100 to avoid underexposure or overexposure. The creator demonstrates how to adjust the aperture to achieve a balanced exposure, noting that while it's generally best to avoid zebra stripes, sometimes overexposing certain areas is necessary depending on the shooting conditions.
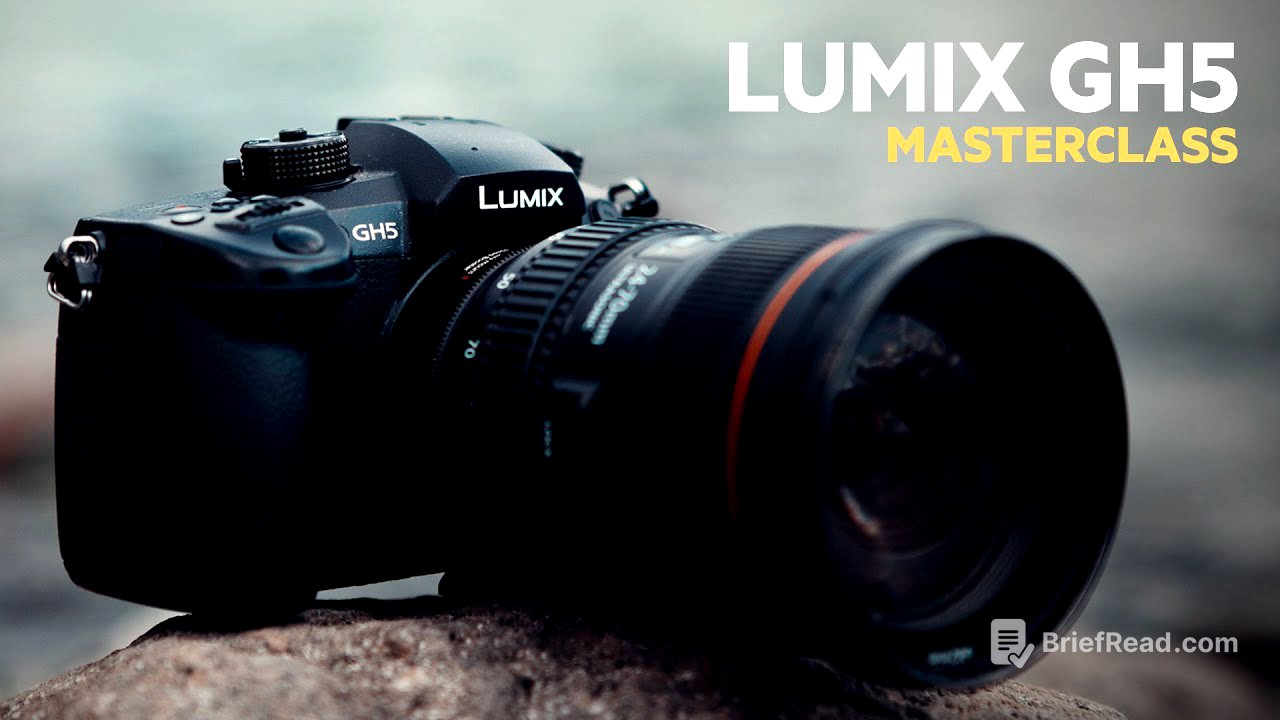
My Main GH5 Lens [13:44]
The creator shares their favourite lens to use with the Lumix GH5: the Canon 24-70mm 2.8 lens, used with a Metabones adapter. They highlight its build quality, weather sealing, sharpness, and performance in low light when paired with a Metabones Speed Booster Ultra, which brings the f-stop down to 2.0. They recommend version 2 of the lens for its improved sharpness.
My GH5 Wide Lens [15:06]
The creator recommends the Tokina 11-16mm wide-angle lens for the GH5, also requiring a Metabones adapter. They praise its sharpness, performance in small spaces, and effectiveness in low light, especially when used with a Metabones Speed Booster. The lens, combined with the GH5's in-body stabilisation, produces stable shots even without a gimbal.
GH5 Low Light Tips [15:58]
The video provides tips for shooting in low light with the Lumix GH5. The creator advises against pushing the ISO above 1250 to avoid excessive noise and recommends opting for a slightly darker image instead. They also advise against using V-Log in low light and suggest using their "Cinelike D" settings. Fast lenses with an f-stop of 2.8 or lower are crucial, and the creator's lenses go down to f/2.0 with a Metabones Speed Booster Ultra. In post-production, it's important not to overdo the exposure adjustments to prevent digital grain. The creator used their moody LUT for a film shot in Tofino, Canada.
GH5 Moody Grade Tutorial [18:01]
The video demonstrates how to achieve a moody grade on Lumix GH5 footage using Premiere Pro. Starting with footage shot in "Cinelike D" with sharpness at -5, the creator adjusts the colour using Lumetri scopes. They lower the shadows and raise the highlights in the colour wheels and match area to increase contrast. An S curve is applied in the master curve section to further enhance contrast. To create a cold, moody look, the shadows and highlights are shifted towards blue in the colour wheels and match area.
GH5 Vintage Grade Tutorial [21:17]
The video provides a tutorial on achieving a vintage western look on Panasonic GH5 footage using Premiere Pro. The creator emphasises the importance of well-exposed footage. The process involves adjusting the exposure and contrast using Lumetri scopes and curves. The mid-tones are warmed up by dragging them towards yellow in the colour wheel. A grain overlay is added to give the footage a vintage texture, using a soft light blend mode. The blacks are dropped slightly to increase contrast, and the whites and shadows are adjusted.
GH5 Instagram Settings/Export [25:11]
The video explains how to export videos for Instagram using specific settings in Premiere Pro. The creator uses a custom preset based on Instagram's recommended file sizes. The aspect ratio is set to 1080x1350, the frame rate is matched to the source footage, the field order is set to progressive, and pixel aspect ratio to square. "Render at Maximum Depth" is enabled, the profile is set to high, and the level to 5.0. The target bitrate is set to 30 Mbps, and the maximum bitrate to 100 Mbps.