TLDR;
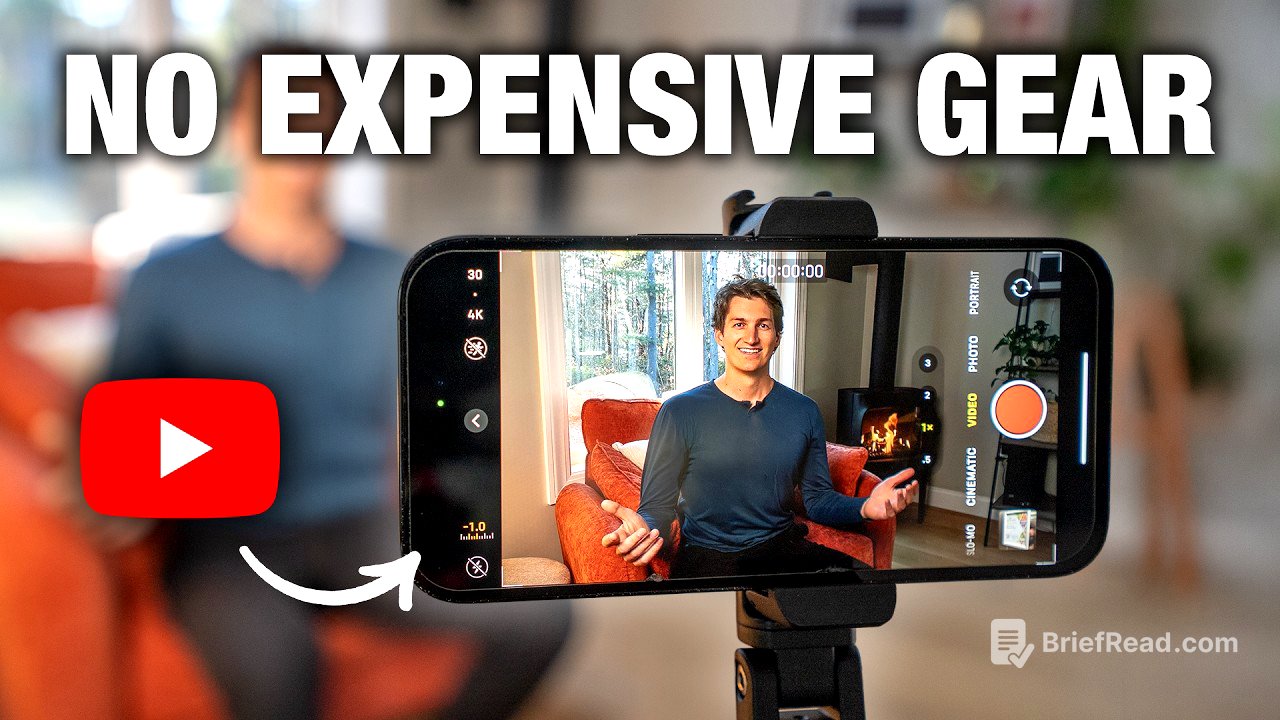
A smartphone is sufficient for producing polished YouTube videos when you pay attention to four essentials: composition, lighting, audio and camera settings. A simple background, stable framing, soft and well-positioned light, a separate microphone and suitable recording settings can make a bigger difference than buying an expensive camera.
- Use a tidy background, keep the phone stable and frame yourself with the rule of thirds.
- Put soft light in front of you, slightly to one side, and use optional accent lighting to shape the background.
- Record with a wireless microphone rather than relying on the phone’s built-in mic.
- Prefer the rear camera and, where available, record in 4K using frame rates suited to talking footage or slow-motion B-roll.
Intro [0:00]
Modern smartphones can produce strong video without an expensive camera, and the advice in this video applies across phone models. The presenter demonstrates this with footage from several devices, including an iPhone 15 and an older iPhone 6. Four components form the foundation of smartphone filmmaking: composition, lighting, audio and camera settings. Each matters to the overall result, so overlooking one can noticeably weaken a video.
Component #1 – Composition [1:13]
Choose a simple, functional background rather than one that looks impressive but distracts from the subject. Busy lines, shapes and patterns compete for attention, although a completely blank wall is not essential; a simple setting can still show personality. Smartphones have a deep depth of field, meaning background objects tend to remain in focus, so putting distance between yourself and the background can help create more blur and a more professional-looking shot.
Keep the phone steady with a standard tripod, a flexible tripod or, if needed, a gimbal. A standard tripod provides a reliable fixed shot, while flexible legs can wrap around objects, support unusual angles or serve as a small selfie handle—useful for vlogging and travel. Modern phones often have effective built-in stabilisation, so a gimbal may not be necessary if you can hold the phone steadily.
For framing, use the rule of thirds: divide the image into three sections and position yourself in the middle section, with your eyes near the upper horizontal line. Turn on the camera grid on an iPhone or the composition guide on an Android phone to make these lines visible while filming.
Component #2 – Lighting [4:45]
Lighting has a major effect on video quality: a costly camera with poor light can look worse than an old phone used with good lighting. To start without buying equipment, face a natural light source such as a window or the sun. Avoid putting the main light behind you, as this can leave your face in shadow.
Soften the light with diffusion, which spreads it out to create gentler shadows and a more flattering image. Clouds naturally diffuse sunlight; indoors, a white curtain over a window can do the same. For artificial lighting, the presenter recommends a larger softbox, such as the Mount Dog kit. A smaller light can also work, but may need a separate diffusion panel to produce softer light.
Position the key light about 45 degrees to one side of your face. This creates some shadow and dimension, while placing it directly in front can make the image look flat; placing it too far to the side can create excessive shadow. Keep the light close to your face and adjust its brightness down as needed. A nearby, large light source produces softer light, whereas moving a small light further away and increasing its brightness makes the light harsher.
Accent lighting is optional but can add colour and depth to the background. The presenter suggests light wands or tubes, which can also create effects such as lightning, police lights or fire-like colours.
Component #3 – Audio [10:30]
Clear audio is a substantial part of the viewing experience, and attractive lighting cannot compensate for poor sound. Record directly into the phone using an external microphone rather than its built-in mic. A wireless microphone is especially useful when filming in different places, as it allows you to move around while keeping the audio connected to the camera, within the signal’s operating range.
The Hollyland Lark A1 is presented as a straightforward, budget-friendly option: plug its receiver into the phone, switch on the microphone and enable its noise cancellation when filming in a noisy location. The Hollyland Lark M2 is a step-up option with slightly cleaner sound; the presenter uses it for the video. Both are described as reliable choices, while very cheap wired microphones and unfamiliar brands are best avoided in favour of established brands such as Hollyland, Rode or DJI.
The presenter also announces a studio-kit giveaway containing a Hollyland Lark A1 microphone, a Mount Dog softbox light and an Amazon Basics tripod. To enter, viewers must like the video, comment, subscribe and use the giveaway link in the description to submit an email address. A winner will be selected at random two weeks after the video’s posting date and contacted for a shipping address. Everyone who submits an email also receives a social-media and YouTube editing template pack, including colour-grading LUTs, sound effects and graphics.
Component #4 – Camera Settings [13:58]
Use the phone’s rear camera when possible, as it generally provides better resolution and overall quality than the front camera, along with more background blur. To monitor framing without using the front camera, attach a selfie monitor to the back of the phone. iPhone users with an Apple Watch can also use it to view a live camera preview.
Record in 4K if the phone supports it. Compared with 1080p, 4K offers a sharper image and gives more room to crop or zoom during editing without losing as much quality. For talking-head footage, or A-roll, choose 24 or 30 frames per second. Both work; 24 fps generally gives a more cinematic look. For B-roll, use 60 fps when you may want to slow the footage down, since the additional frames make slow motion smoother. Use 120 fps—or 240 fps if available—for especially dramatic slow motion; if you do not plan to slow the footage, the same frame rate as A-roll is suitable.
For iPhone filming, the presenter recommends turning HDR off because automatic changes to brightness and colour can create inconsistent footage, and some apps may not display HDR correctly. Good lighting and proper exposure are preferable. When filming indoors under studio lights, enable “Lock White Balance” to stop the phone changing colour temperature during recording. Outdoors, leave it off because lighting changes frequently and smartphone auto white balance is generally effective.
A teleprompter is a useful optional tool for scripted videos: it displays the script over the camera lens, allowing the presenter to read while looking towards the lens instead of memorising every line.
The video closes by stressing that filmmaking skills develop through practice and that the four components are only a starting point. It promotes the paid 14-Day Filmmaker programme, which includes more than 150 tutorials covering gear, camera settings, lighting, camera movement, audio, storytelling and editing, plus courses on smartphone filmmaking, professional cameras and YouTube growth. The programme offers lifetime access, extra sound effects and editing resources, and weekly live Q&A calls for a one-off fee of $48.