TLDR;
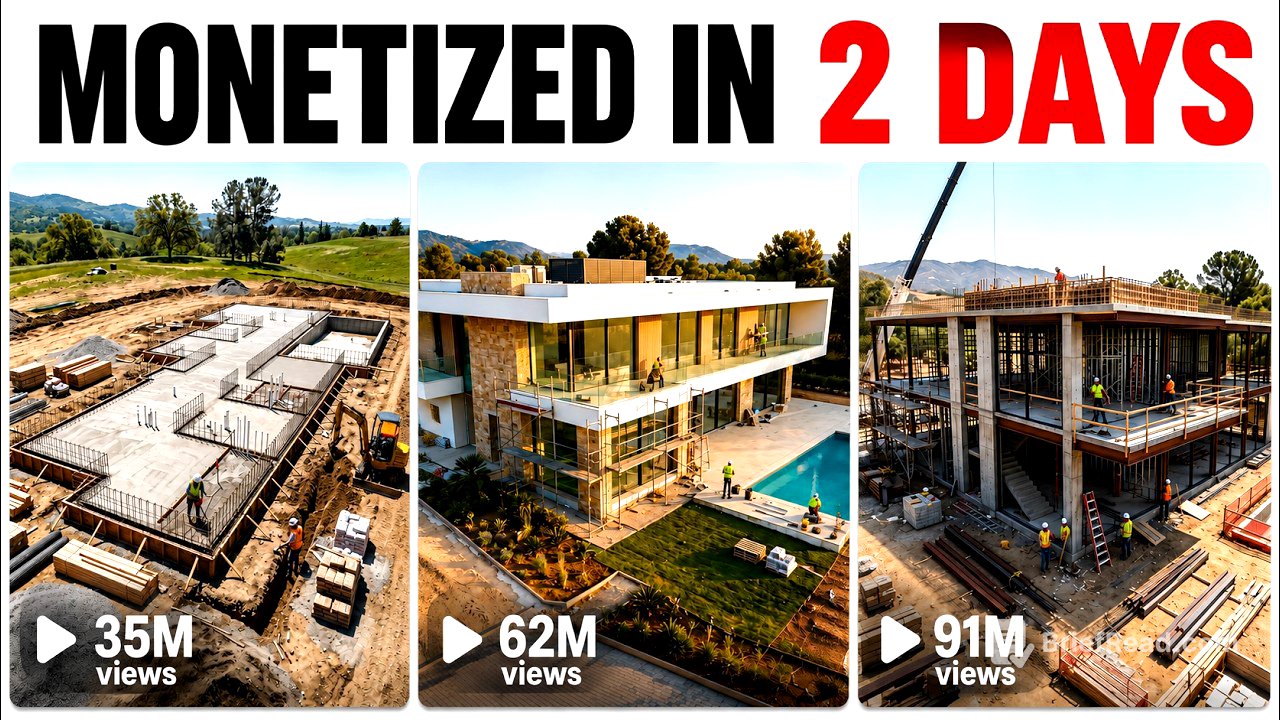
AI-generated construction time-lapse videos can be made without filming equipment, a building site or animation experience. The workflow uses ChatGPT to develop the concept and scene prompts, Google Flow to generate consistent images and video clips, CapCut to assemble and edit them, and Suno to create free background music.
- Create a series of construction stages and establish a consistent visual setting.
- Generate each clip using the previous clip’s final frame to make transitions flow smoothly.
- Arrange the clips in order, add and trim background music, then review and export the finished video.
Plan the Concept and Generate Scene Prompts [1:04]
Start by opening ChatGPT, including its free version, and paste in the complete master workflow prompt. After ChatGPT formats it, ask for transformation ideas or provide an idea of your own. In the demonstration, ChatGPT produces ten ideas, and the creator chooses idea number 10.
ChatGPT then supplies a production package, including a project title, a master environment lock prompt and a storyboard overview with prompts for the individual clips. The environment lock prompt is especially important: it establishes the setting and visual style that will be used consistently throughout the video.
Create the Environment Reference in Google Flow [2:54]
Copy the complete master environment lock prompt and open a new project in Google Flow. Set the generation mode to image, choose a 16:9 aspect ratio, select Nano Banana 2 as the model and set the output to one image. Generate the image to create the video’s foundation.
This environment reference provides a consistent visual starting point for every scene, helping the clips retain the same setting and overall appearance from beginning to end.
Generate Clips and Connect Their Scenes [3:40]
Return to ChatGPT and copy the Google Flow prompt for the first clip. In Google Flow, paste the prompt and add the environment reference image. Set generation to video, choose a 16:9 aspect ratio, select Omni Flash, set the duration to six seconds and request one output. Generate the first clip.
To make the next scene continue smoothly, scrub to the first clip’s final frame and use Google Flow’s save-frame icon to save it as an image. Add that image to the prompt box, then copy and paste the prompt for clip two from ChatGPT and generate the next clip. Repeat this process for each scene: use the previous clip’s final frame as the reference for the next one, along with that scene’s prompt. This helps each new clip begin where the previous one ended, reducing abrupt or disconnected transitions.
Generate all ten clips in sequence, then download them to your device in the correct order so they are ready for editing.
Assemble the Video and Add Background Music [6:21]
Open CapCut and import the ten clips from Google Flow. Place them on the timeline in their correct sequence, from the first clip through to the tenth. To give the video a more polished, satisfying feel, add a background music track.
For free music, open Suno and enter “background music for time-lapse video” in the song description box, then select Create. Suno generates two audio tracks; listen to both and choose one. Download the preferred track as an MP3 using the free version, then import it into CapCut and place it beneath the video clips.
Trim the audio to match the video’s length. Play the whole edit through, adjust the music volume so it does not overpower the visuals, and check that the sequence feels smooth. When satisfied, name the project, choose the export settings and export the finished time-lapse video.